In the last lesson we covered the steps to created a mold box. Creating the mold box is half the formula in the mold making process and the next step will bring us closer to being able to replicate our artwork. The next process is time consuming and dirty but the results are worth every bit of the effort.
- In the fist lesson we went over silicone as one of the materials needed for making a mold. There are a quite a few different brands of silicone out there so the key is to follow the manufacture instructions on whichever silicone you choose to use. My silicone of choice is the Smooth-On Mold Max 20. It’s a great rubber to work with and has been worth every penny in my investment. The rubber comes in a two parts (the silicone and the catalyst)
- A scale is crucial for weighing out the silicone. Ideally a digital scale would be preferred but a food scale can work just as well (just don’t use it for food anymore). Normally what I do is calibrate my scale so that the weight of the cup brings the scale to zero (0). I also pour my silicone in stages, for example if my box requires 30 ounces of silicone I’ll pour 10 ounces at a time (with 10 ounces of Part A and one ounce of Part B – the mix ratio is included with the instructions on the silicone but in most cases it is 10:1).
- Follow the manufacture instructions for stirring the silicone. A paint stick works great but keep in mind that as the silicone thickens it will become harder to mix. I usually mix mine for a minimum of 3 to 6 minutes. Make sure that the color is consistent all the way through (in my case the color is a bright pink). You do not want to see streaks of the base color in the mix (doing so will result in sections of the silicone not curing).
- When you begin pouring the silicon do so slowly and away from the sculpture. I like to start at a corner or large empty space and let the silicon slowly rise over my sculpture. If you poor too fast you are going to get air bubbles in your mold which is a very bad thing. Any air bubble that adheres to the sculpture in a cured mold will fill with resin and become part of your final piece.
- Once I start to cover the top of my piece I like to take a small paintbrush and brush the silicone over the sculpture to make sure that there are no air bubbles left (especially with undercuts). Ideally the air bubbles in most silicone rises to the surface as the mold cures but you really don’t want to take any extra chances and the brush really helps to knock away any unwanted air bubbles. I also use a lot of detail in my pieces so some of the details, like barnacles, need a little assistance in pushing the silicone down so that it covers every nook and cranny of my sculpture.
- Make sure that you pour at least 1/2 of an inch of silicone above the highest point of your sculpture.
- The last step is to just let the silicone cure. Different silicone’s have different curing times but I like to let mine sit for 24 hours before I move onto the next step.
About the pictures below:
I know I mixed up the pictures below (seahorse head vs. the arm) but I wanted to show what a mold looks like before the silicone is poured. Somehow in my absent mindedness I either lost or forgot to take some of the pictures before and after I poured the silicone. Either way the pictures below still give a good visual of everything that I have explained above.
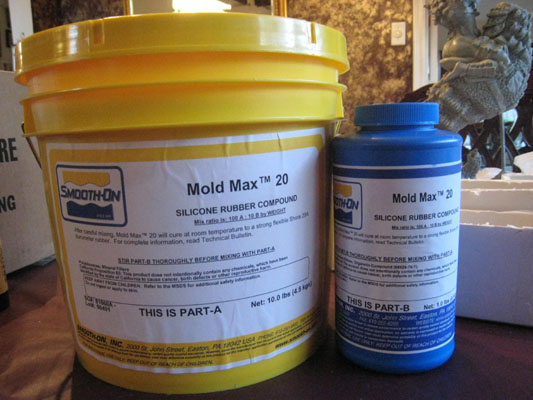 Smooth-On’s Mold Max 20 is my silicone of choice. There are a lot of very good silicones out there, this is just the one that I have stuck with due to previous success. Smooth-On’s Mold Max 20 is my silicone of choice. There are a lot of very good silicones out there, this is just the one that I have stuck with due to previous success. |
|
 Nothing fancy here, just a cheap food scale. A digital scale would be better but this one works fine. Nothing fancy here, just a cheap food scale. A digital scale would be better but this one works fine. |
|
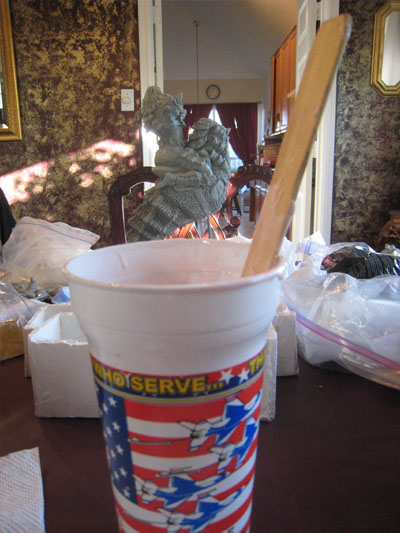 I mix my silicone with a large cup and paint stick. I mix my silicone with a large cup and paint stick. |
|
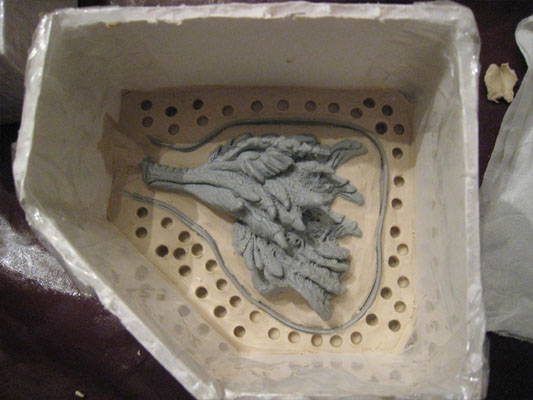 An example of a mold box before the silicon is poured An example of a mold box before the silicon is poured |
|
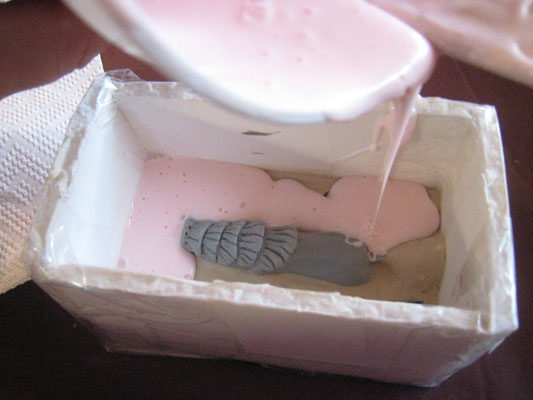 I pour my silicone away from my sculpture letting is slowly rise over the piece. I pour my silicone away from my sculpture letting is slowly rise over the piece. |
|
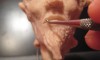
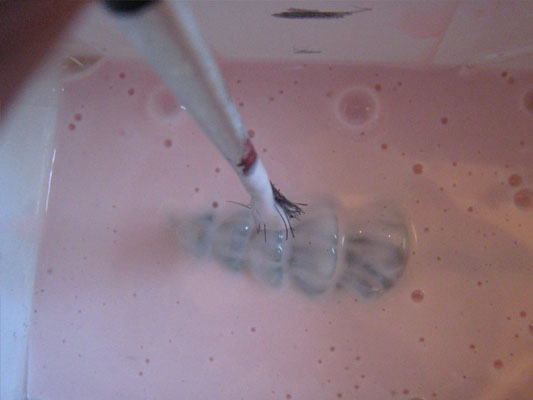 Using a cheap paintbrush I brush the silicone over the details of my sculpture trying to get rid of any pesky air bubbles. Using a cheap paintbrush I brush the silicone over the details of my sculpture trying to get rid of any pesky air bubbles.
Did you notice all the air bubbles rising to the top in the attached picture? Brushing helps insure that no air bubbles are caught on my piece. |
|
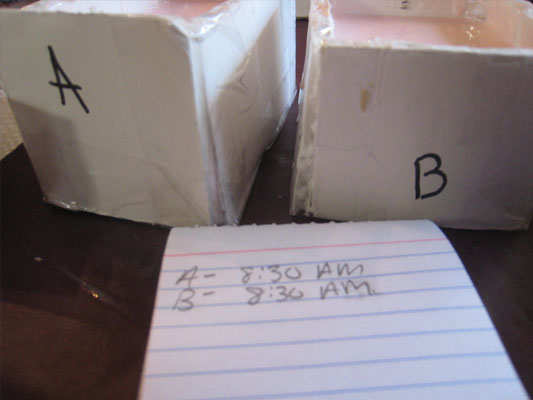 I document the time that I finished pouring my silicone into the mold box. Follow the manufacture’s instructions for curing times but typically I give it 24 hours before moving onto the next step. I document the time that I finished pouring my silicone into the mold box. Follow the manufacture’s instructions for curing times but typically I give it 24 hours before moving onto the next step. |
|
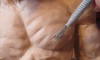
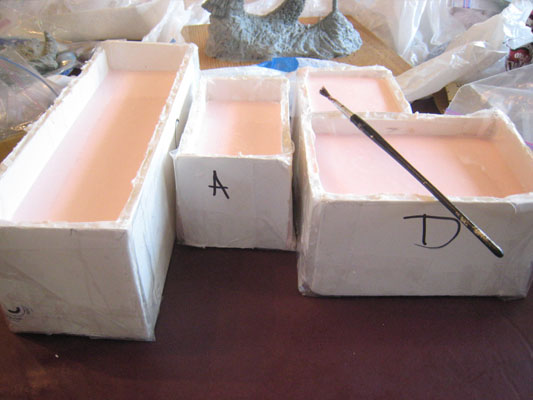 Here are a few examples of what the mold box looks like when the silicone has been poured. Here are a few examples of what the mold box looks like when the silicone has been poured. |
|
Next lesson – Making a Mold – Step Four
Previous lesson – Making a Mold -Step Two


Goregt,thank you to share your mold making process!!I´d like to ask you how you make a horse mold?Do you use the box process too?
Because some people put the silicon rubber with a paintbrush step by step on the piece.What do you think is the better way?
tanhk you
Analia
Analia,
From my understanding the brush method is a better approach for conserving silicone (also requires a thickening agent). I cut my sculptures into pieces so I would approach a horse mold in the same manner that I used for my seahorse sculpture. It really also depends on the size of the sculpture. My seahorse sculpture when put together was only about 15 inches tall so the box mold worked really well for me. If I was doing a large sculpture I would definitely consider using a matrix mold
A Matrix mold is where you use a minimal amount of silicone as possible and then use either foam, fiberglass or plaster to build out the rest of the box (or support for the silicone). I haven’t had much success with this method but will need to try again in the future on a larger piece.
Best of luck,
Gerald