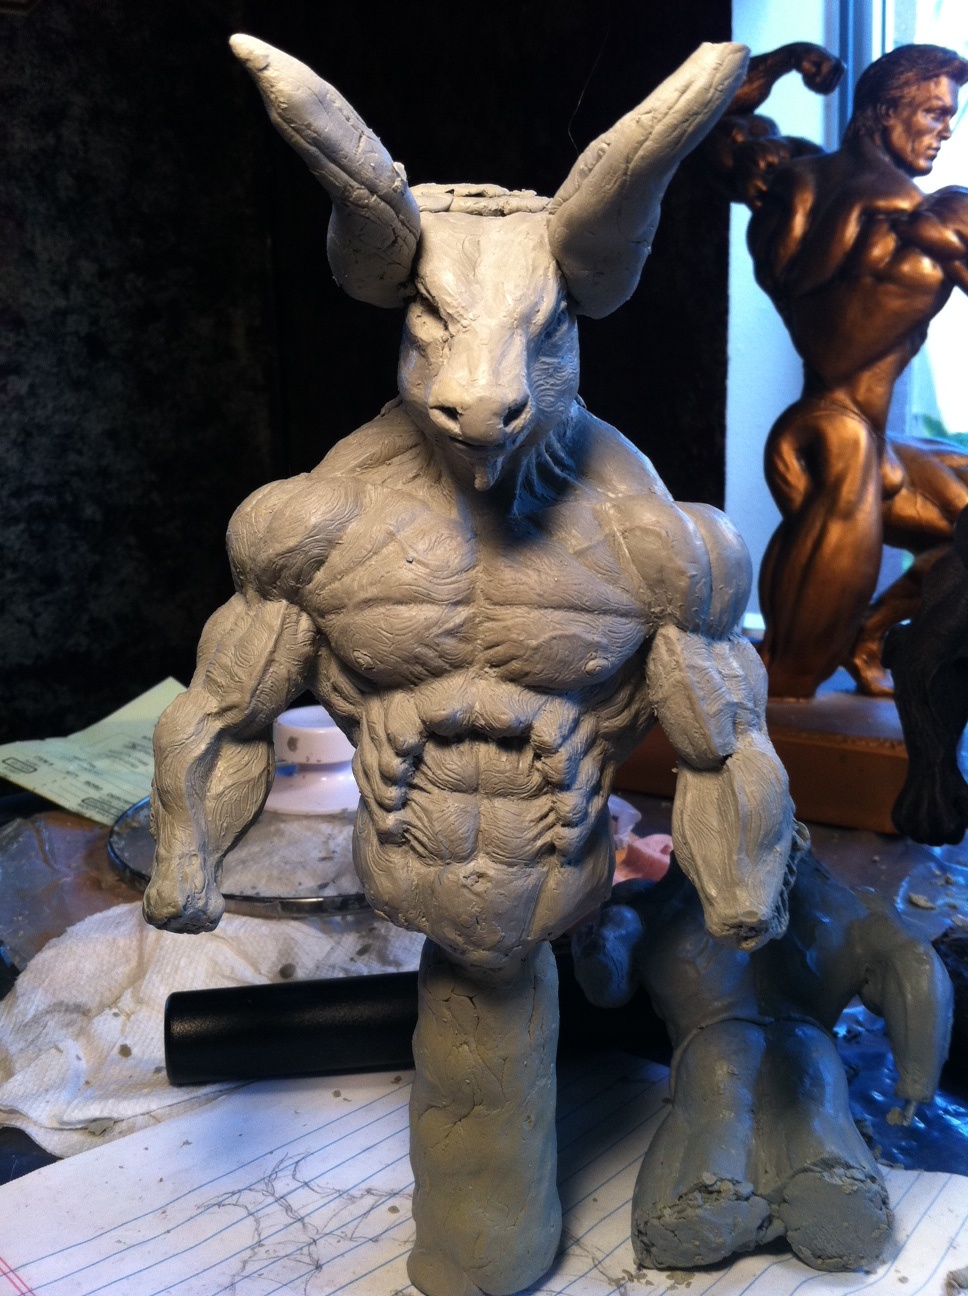
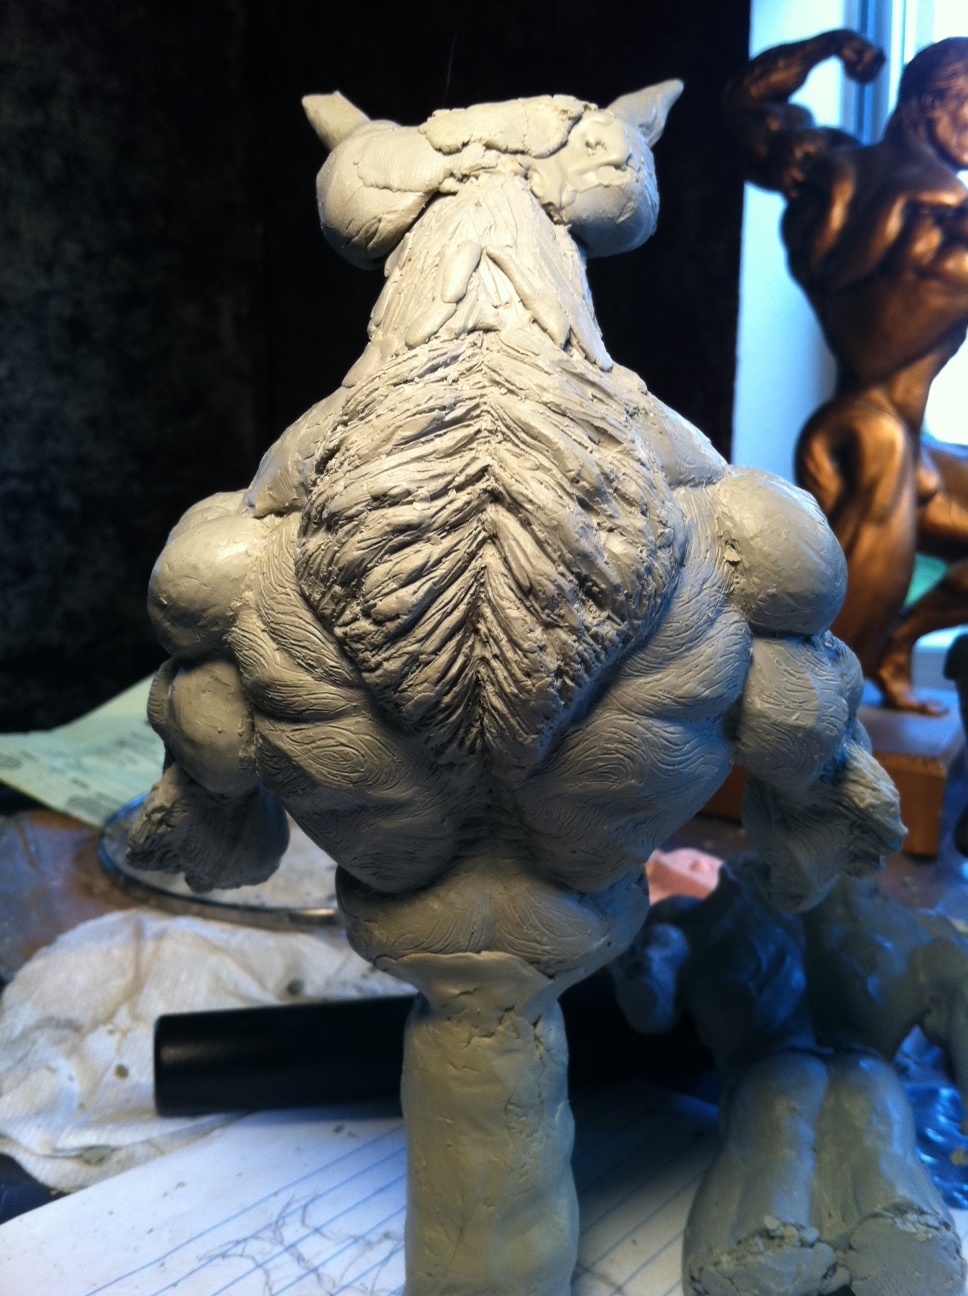
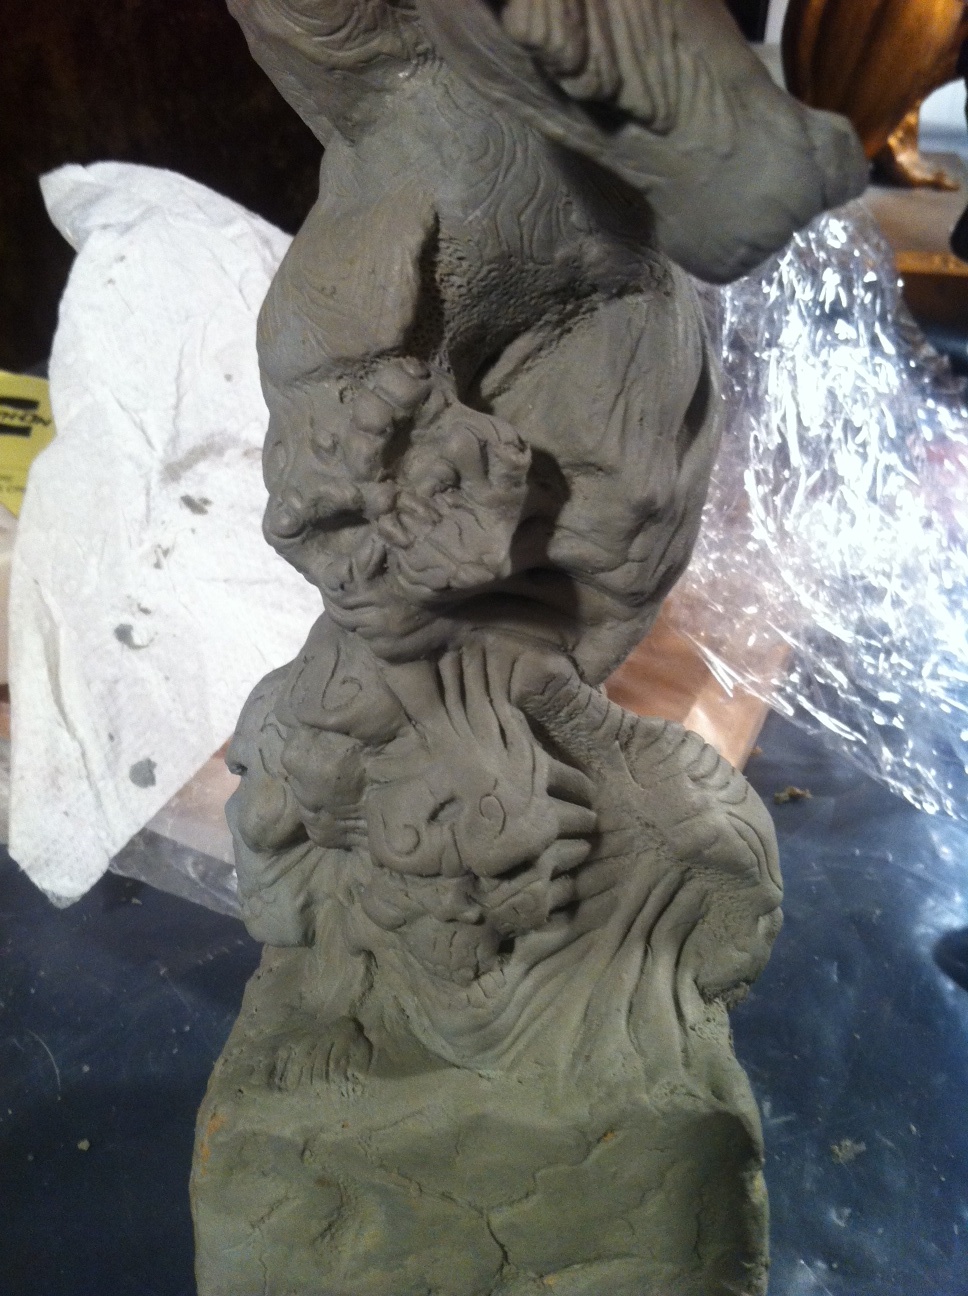
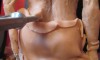
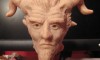
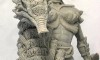
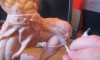
I still have some work to do on my Minotaur’s head, body, etc but I wanted to go ahead an attach him to a base to get an overall idea on how the sculpture is going to look. Adding the base is a pretty easy task with wax since there really is no need for a support system (armature) for it to be able to hold up the sculpture. Also, another huge advantage for using wax is that I was able to create wax cast from some of my other skull sculptures. This allowed me to add a few of my already previously sculpted skulls to the base verse having to spend a lot of time sculpting each individual piece. I have so many projects going on right now shortcuts like the wax cast really help me move the piece along. I’m also able to sculpt the pieces together in a way in which they look unique, so the sculpture is not “cheapened” by this process.
The steps for creating my base are below.
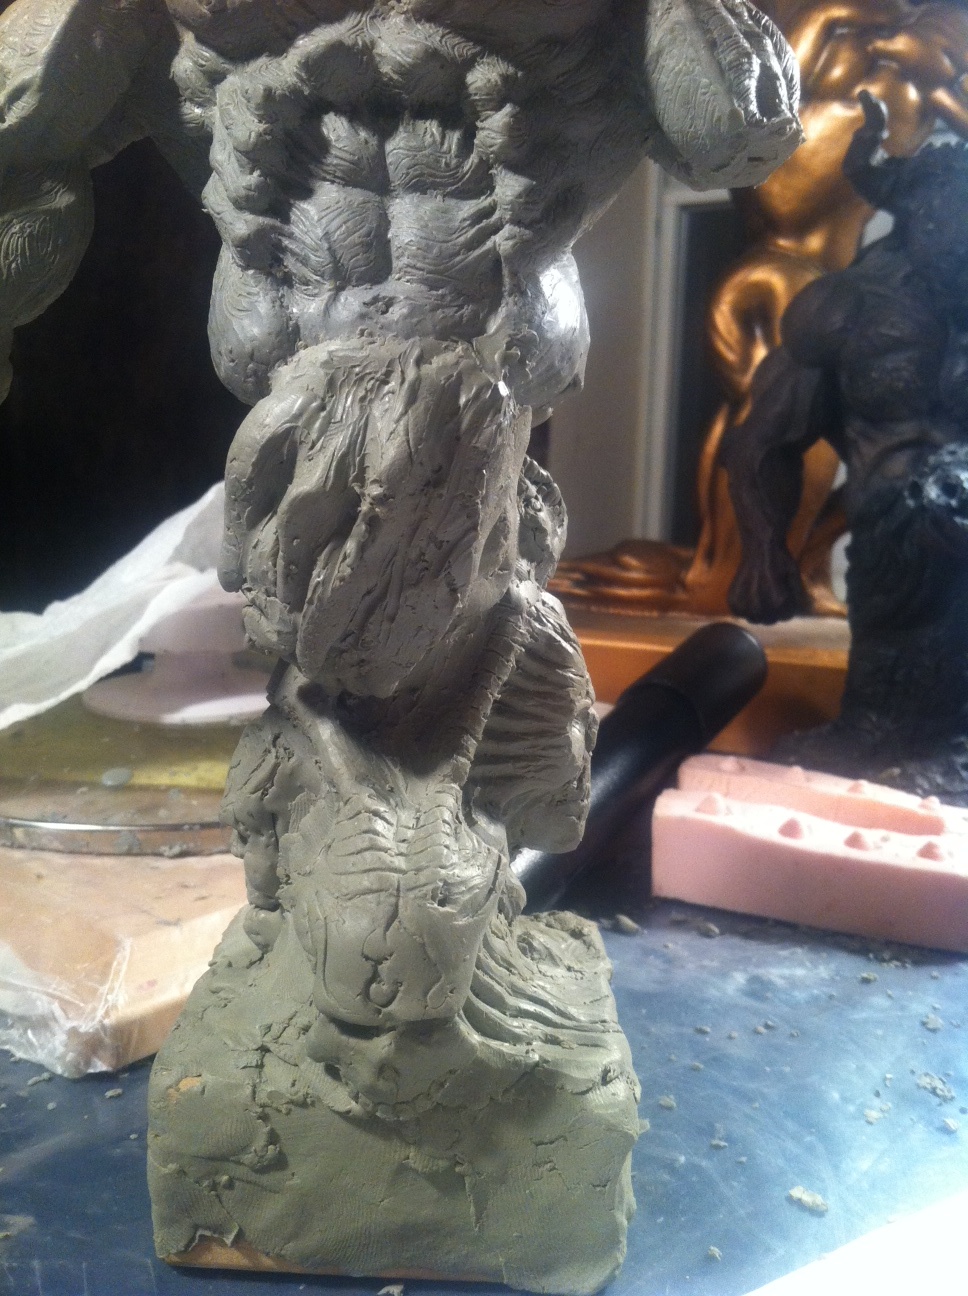
- Mold a cylinder out of wax, attach it to the base of the Minotaur’s belly and let it dry to harden (couple of minutes)
- Attach the wax base to a wooden block
- Cover the wooden block with wax and weld the base to it
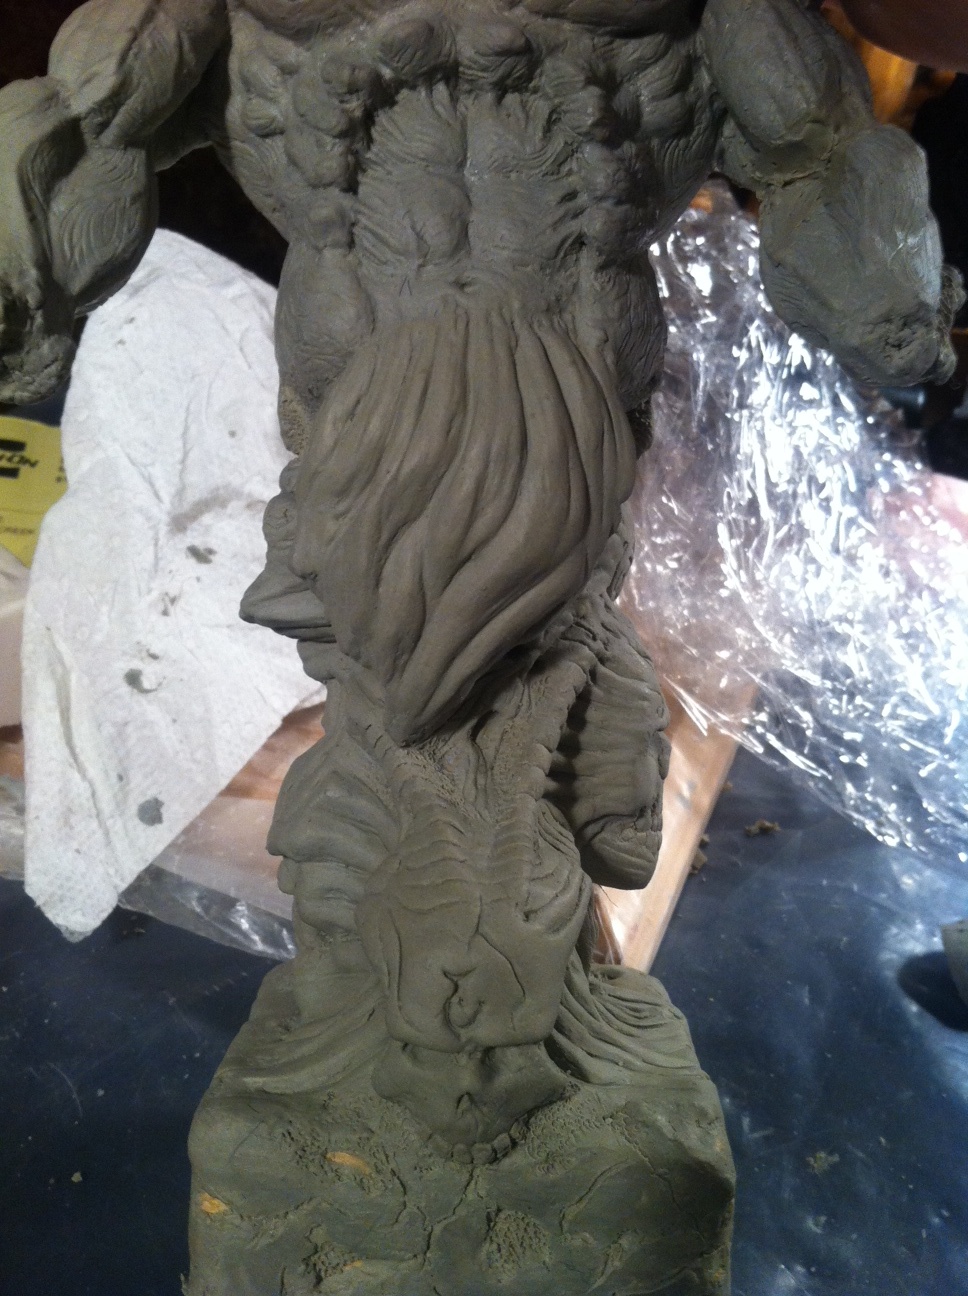
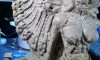
- Make wax cast of skulls from some of my other sculptures
- Attach the skulls to various parts of the base.
- Sculpt a design in and around the skulls to tie them all together
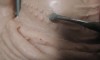
- Use orderless Mineral Spirits to smooth out the rough forms.
Picture gallery is below.