How to sculpt a unique rocky seascape base
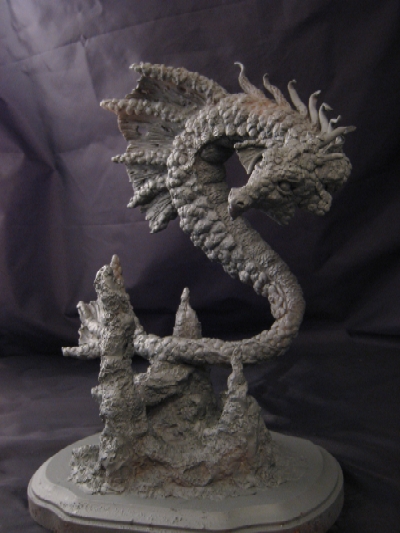
In the following tutorial I am going to show you how you can quickly and easily sculpt a cool looking rocky base for your sculptures. The entire process for the base took me around 30 minutes to an hour to complete. As of this writing I just finished a sculpture of a sea dragon. I wanted to add a unique base to my dragon sculpture but I didn’t want anything that I felt was taking away from the sculpture.
** The pictures below will show you step-by-step how I created a base that I think compliments the sculpture. Note that the pictures are thumbnails so click on the individual images for a larger view.
————————————————————————————-
My seascape base
* I just recently upgraded my digital camera so these pics should hopefully be better then some of the earlier reviews.
** This sculpture is created with Super Sculpey.
————————————————————————————-
 |
1. To start out I just used a simple wood base that compliments my sculpture (not too big or too small) Note: I used a base that I was going to use for another project. The base was already stained and varnished which I would recommend not using in the future (varnish bubbled up in the oven when the sculpture was baked) |
 |
2. To start off I will put a thin layer of clay on the top of my base. I will also drill a hole where I will insert my dragon sculpture (armature wire will be inserted into the hole) |
 |
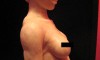
3. The next step is to attach my existing the sculpture to the base. I measure out how far from the base I want my sculpture and cut my armature wire. |
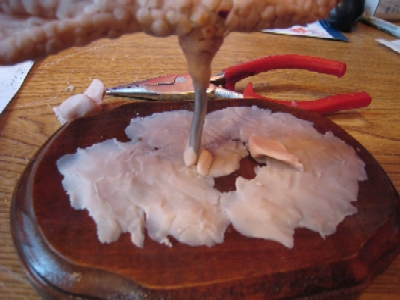 |
4. Here is the picture of the sculpture attached to the base (loosely attached at this stage) |
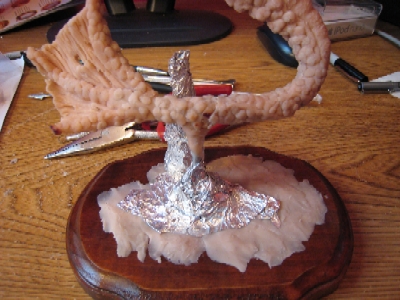 |
5. I now start building out aluminum foil towers for my rocky seascape (aluminum foil helps bulk out the sculpture to avoid using an excessive amount of clay). |
 |
6. Since I will be adding new clay to my previously baked clay I will need to lightly coat the backed clay with Vaseline (helps the new clay stick to the baked clay). |
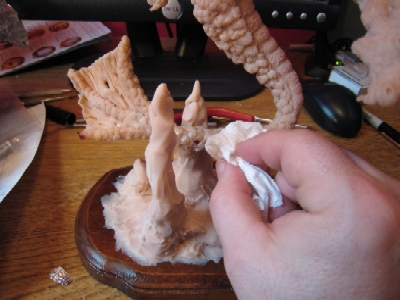 |
7. Take a tissue and wipe off the excessive Vaseline (Petroleum Jelly) |
 |
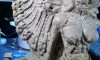
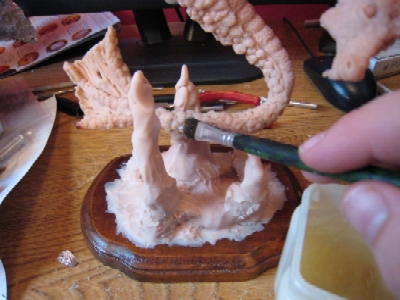
8. In this image you can see a rough design of my seascape mapped out |
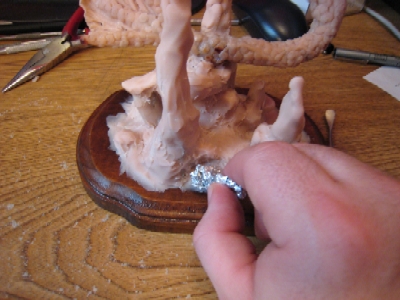 |
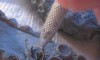
9. Using wadded up aluminum foil I press different patterns into my clay. |
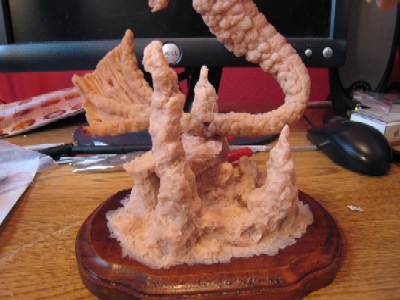 |
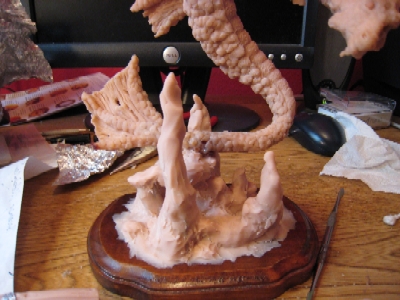
10. An example of my seascape. Now just bake the sculpture at 250 to 275 degrees Fahrenheit for 15 minutes to harden the clay. |
|
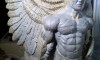
11. And a finished picture of my sculpture as it is primed and ready for paint. |