
The tutorial in this video is for all of those interested in the process of creating a single part mold. I go into detail on creating the mold box and pouring the silicone mold.
 Over the past few years I’ve gravitated from creating what I would consider more conceptual to functional based art. I still enjoy sculpting statues and figurines, that will always be a part of me, but I have to admit that creating a unique functional piece of artwork has a strong appeal to me. Not only is the artwork fun to look at, it’s also a great way to create an engaging conversation piece.
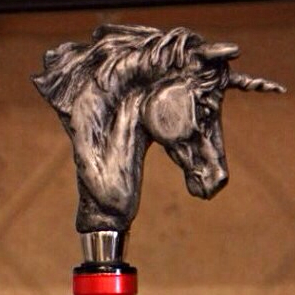
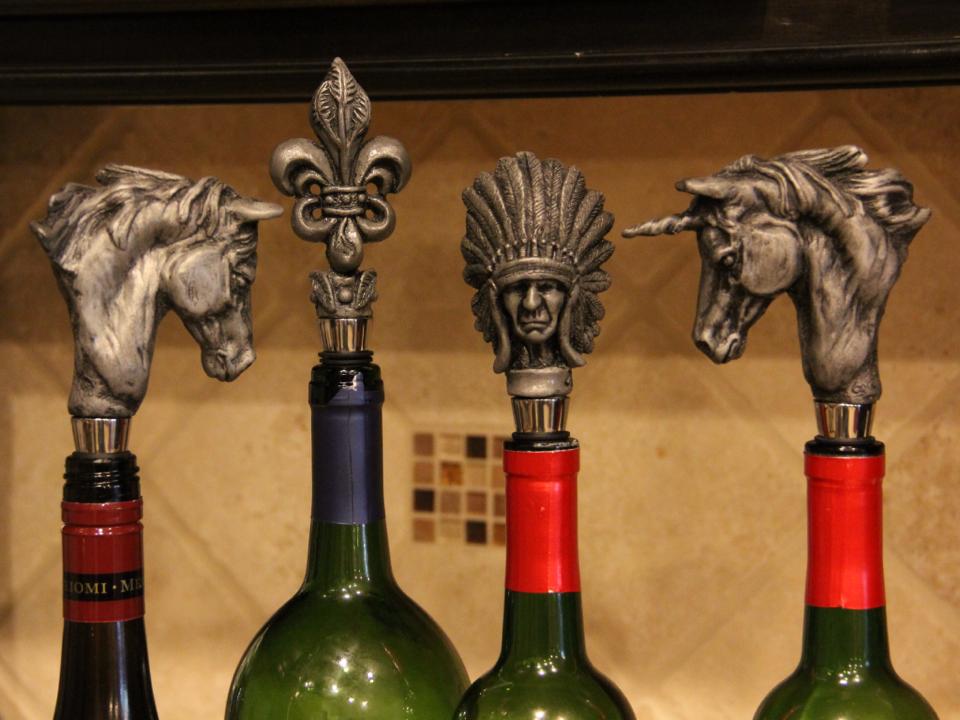
I started my functi0nal art journey a few years back making cigar related tools and as of late have spent a great number of hours creating art for the wine enthusiast. What’s intriguing about creating this type of art it that it really stimiluates my own creativity. I look at the world with a different view in that any and every item I interact with has an opportunity to also because an artistic centerpiece. Napkin holders, coasters, light switches, etc and etc offer endless opportunities to create something that is functional yet an attraction for its design and beauty.
If you have never created a functional piece of art then I highly recommend you give it a try. Push yourself with the design, make the challenge something that you have to give your very best effort. In the end no matter what you make, or how the design ends up, I truley believe you will grow as an artist. After all I’ve never grown much from my easy projects, it’s the ones I wanted to throw in the trash that really developed my skills. For me sculpting wine stoppers pushes the envelops of my creativity. I have to sculpt smaller than I prefer and on top of that I’m tasked with trying to create an appealing design that will rest on top of a wine bottle.
Go out and find your niche and try something new. Struggle with the project, push yourself, don’t give up and in the end I’m confident you will be a better artist for it.
If you would like to check out my latest endeavors you can view them at my
Etsy shop – www.etsy.com/shop/gorecollection or my website – www.gorecollection.com.
All the best,
Gerald Gore
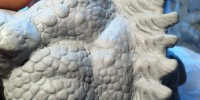
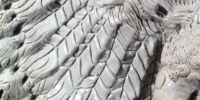
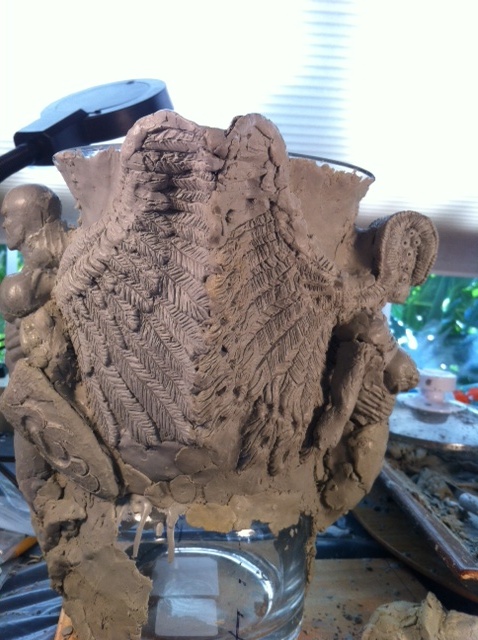
There are a lot of different ways you can sculpt scales and the tutorial below is just one of many examples that you can use. I’m using a wax in this tutorial but the same steps can be used with polymer clay.
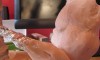
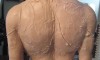
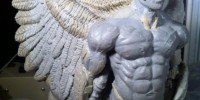
- The first step is to design and sculpt the forms of your sculpture (i.e. muscles bulging, wrinkles in skin, etc)
- Next, using a sharp tool I will draw patterns into my wax.
- Periodically I’ll brush away the excess wax to clean my surface while I work.
- Once I have my pattern to my liking I’ll go back and carve a deeper cutout around my shapes.
- After the excess wax has been removed I’ll begin to smooth out and clean up the sculpture with Odorless Mineral Spirits (use rubbing alcohol if you are sculpting with polymer clay). Read the rest of this entry »
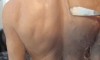
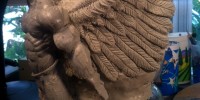
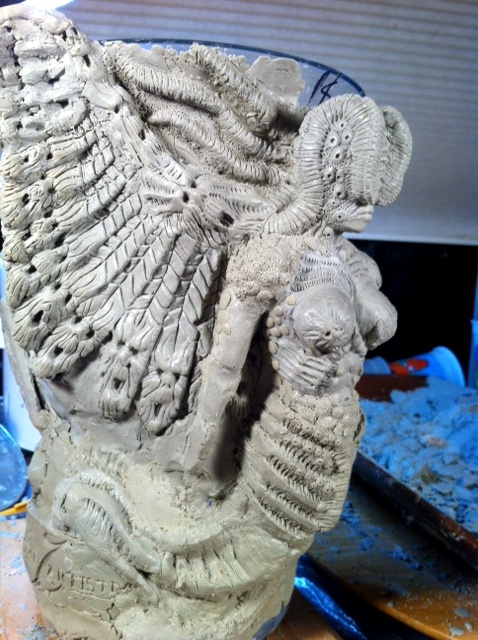
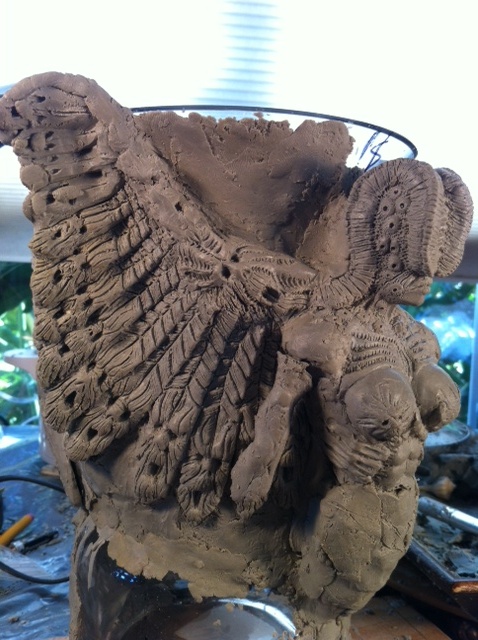
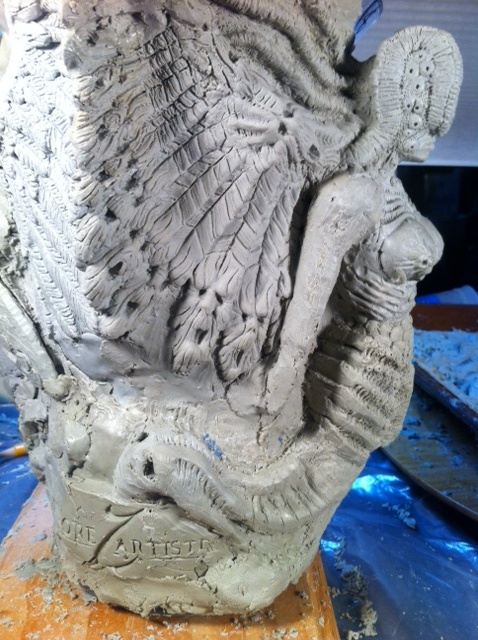
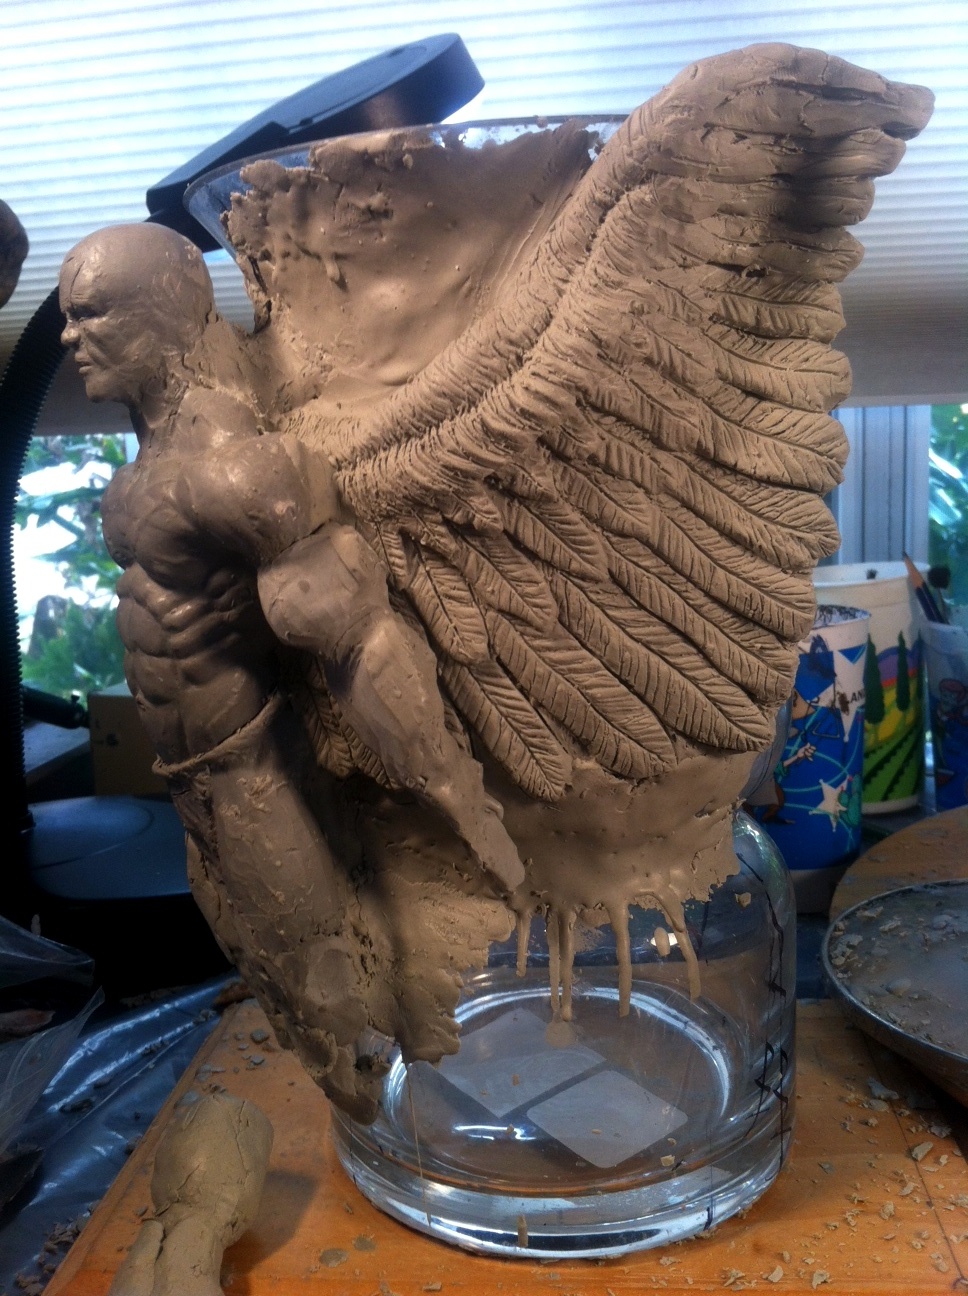
Few pictures showing my latest updates. Most of my recent work has been on the right side of the angel. I’m now working on the left side and hope to have him completed here in a few weeks. After that the demon side of the cigar ashtray is left with some minor work on the top of the vase.

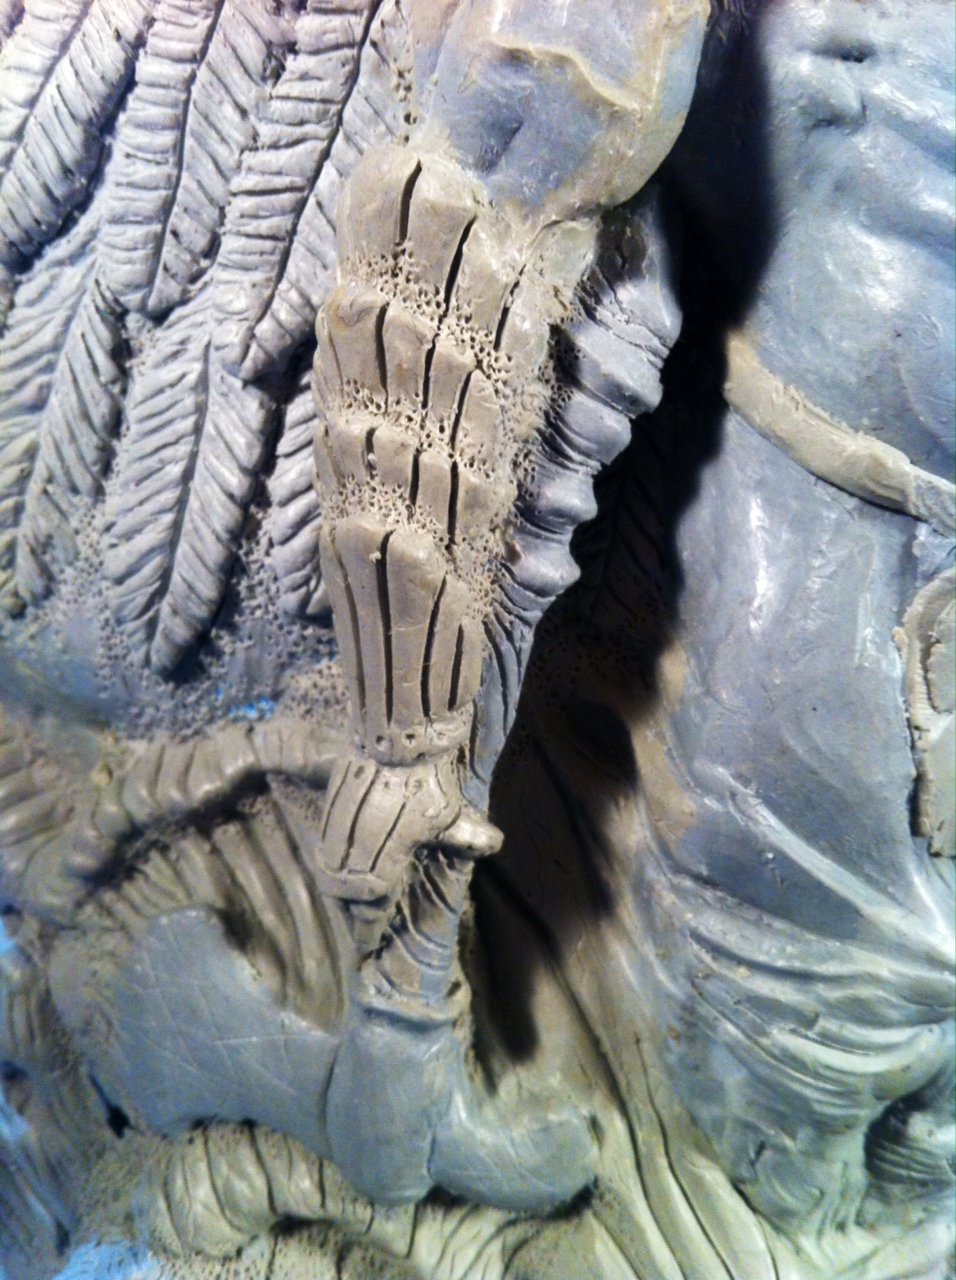
When working on a larger sculpture I like to bounce around a lot by not spending too much time one a particular section. I’ve found that the overall sculpting seems to flow better when you move around the various forms. Also, since I usually spend anywhere form 100-200 hours on my larger pieces I’m able to keep the sculpture more interesting by investing a limited amount of time on each section. The other advantage for moving around is that it is easier to make the overall sculpture more symmetrical.
I have to admit though that at times I tend to become too fixated on one section. For example, I’ve been guilty on many occasions for putting too much work on one side of the body while ignoring the other half (which is unfortunately happening on this piece). This mistake can create a huge headache when I try to blend the two forms together. However the mistake is easy to make because sometimes you just want to really flesh out one section of a sculpture to see if you like the design enough to carry through the entire piece.
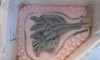
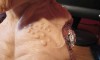
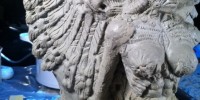
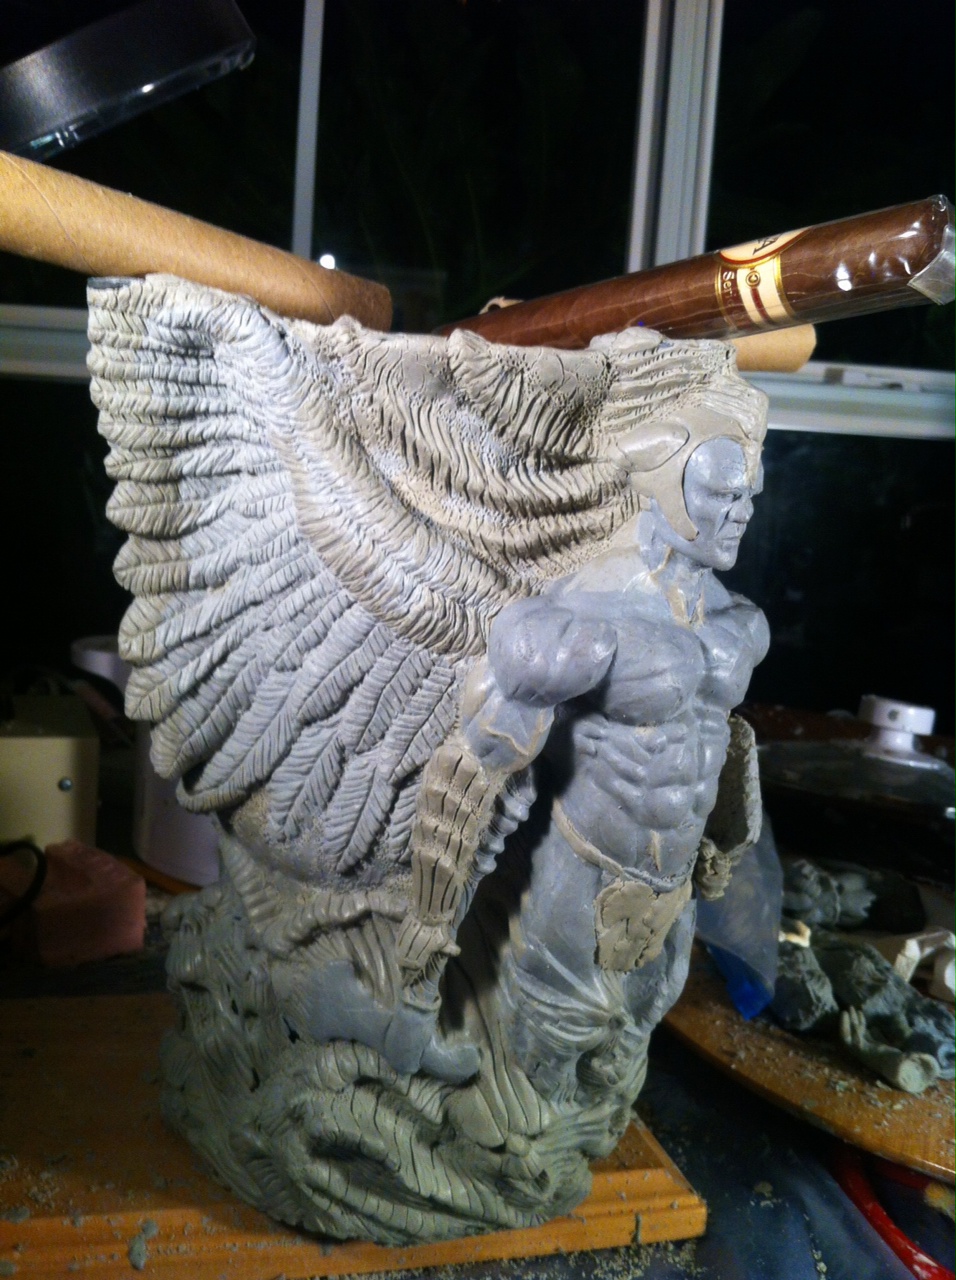
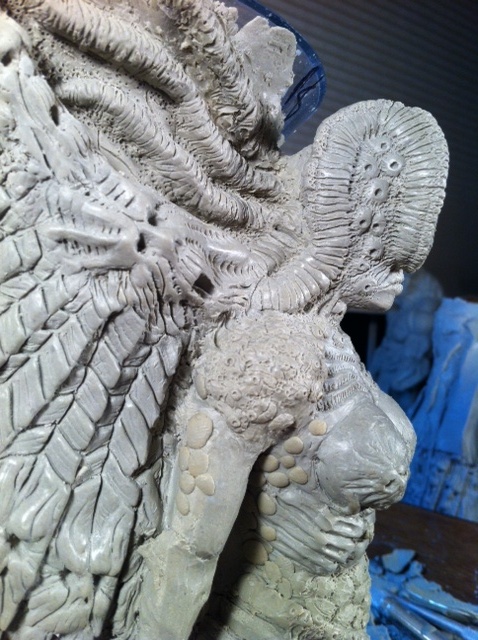
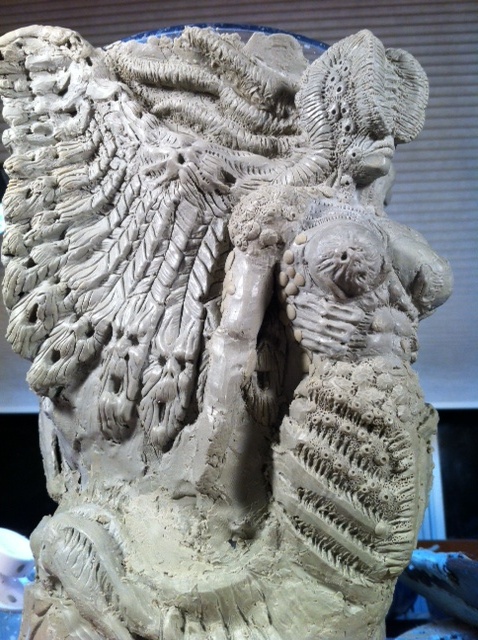
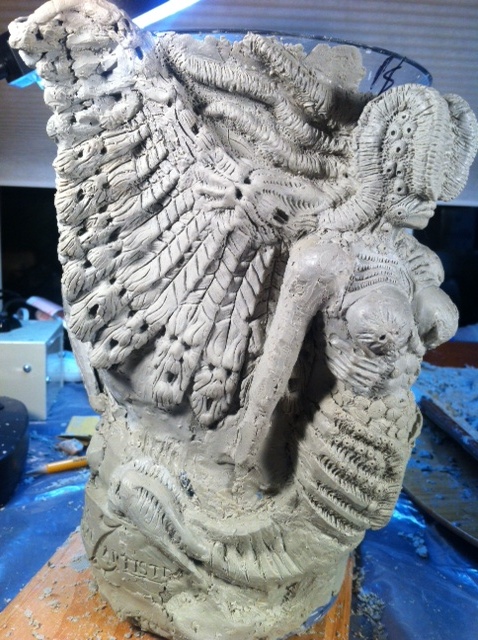
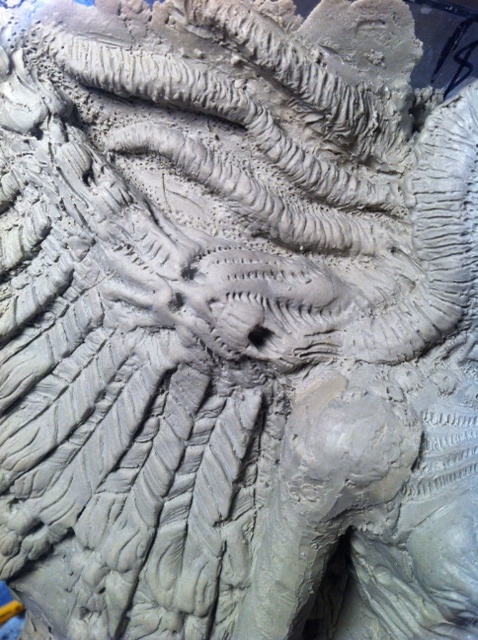
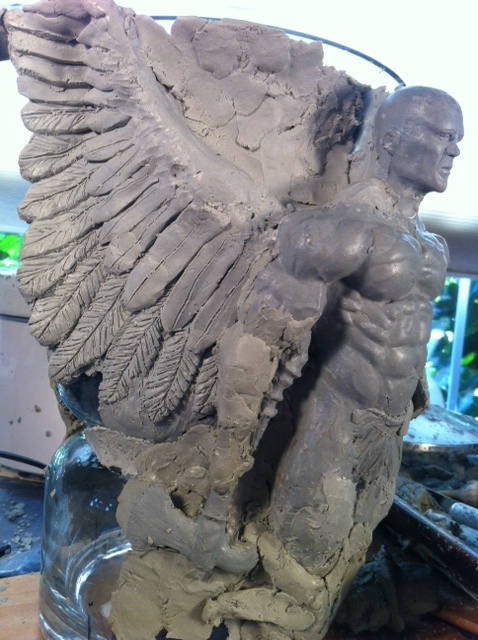
I’ve spent quite a bit of time on the demon half of this sculpture and have decided to revisit the logo on the sculpture so that I can break up the monotony a little bit. The logo falls under where the wings join together and really merges the angel and demon halves of the ashtray together. I’ve included a few pics below on my progress and will take more pictures once I come closer to completion.
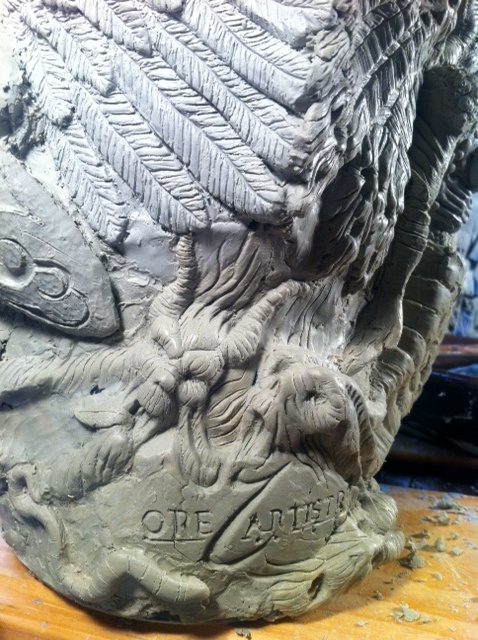
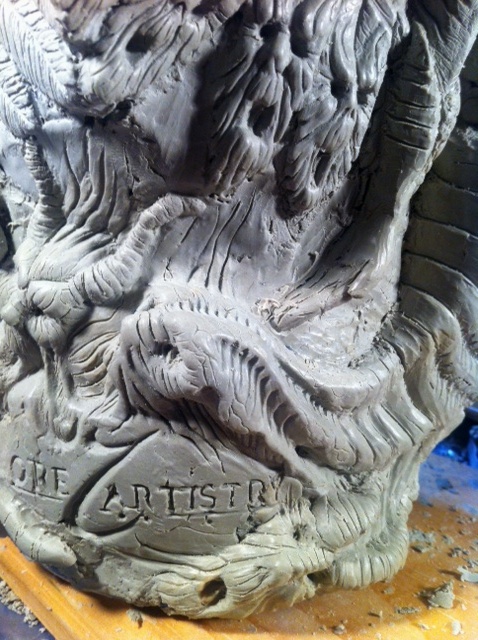
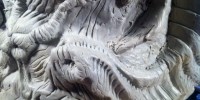
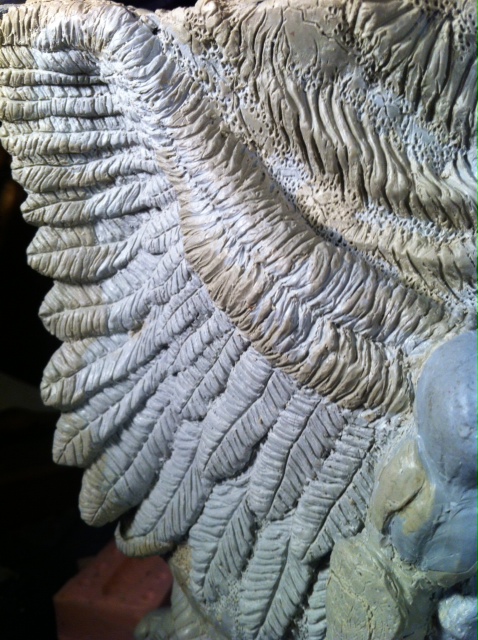
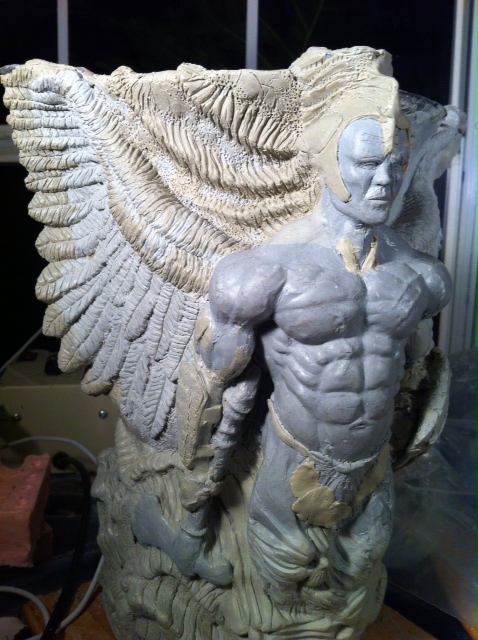
In the attached pics I’ve done a little cleanup work on the wings and the demon’s face. I still have a very long ways to go with this piece but everything is starting to take shape now. The cleanup is pretty easy, it just takes a bit of time and patience to work through it.
- Instead of using a brush with rubbing alcohol, which is used to smooth out Super Sculpey, is use Orderless Mineral Spirits when working with wax.
- The key is to let the Mineral Spirits dry before moving onto the next stage. The wax will dull a bit and also tends to get a little tacky.
- Once dry I come back with my brush and warm water. The water will bead up on the wax and I can use quite a bit of pressure to clean the forms.
- If necessary I’ll also use a very smooth cloth that is soaked in warm water. The cloth is more ideal for larger areas and you can really adjust the pressure when smoothing out the forms.
These are the steps I typically take when smoothing out the various forms but there are times when a very fine grained sandpaper is necessary. Most of my work is textured and I usually use the sandpaper on areas that need to be very smooth. The following link goes into more detail on the steps I just covered – smoothing wax.
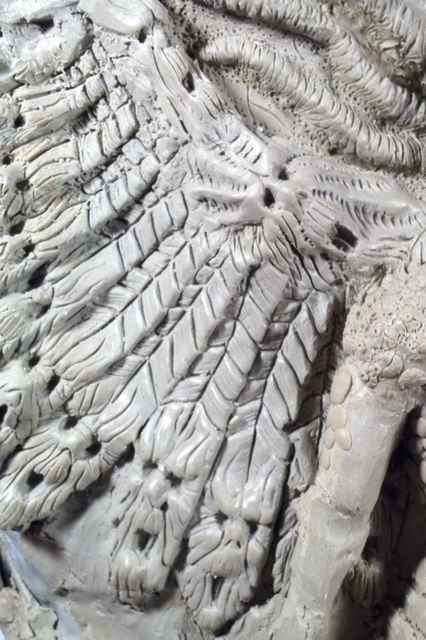
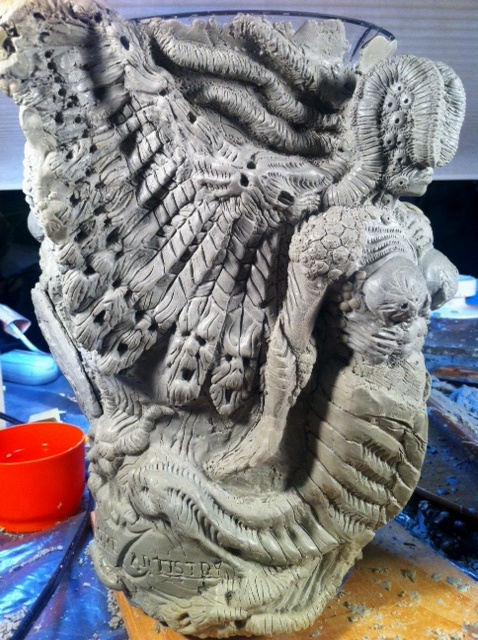
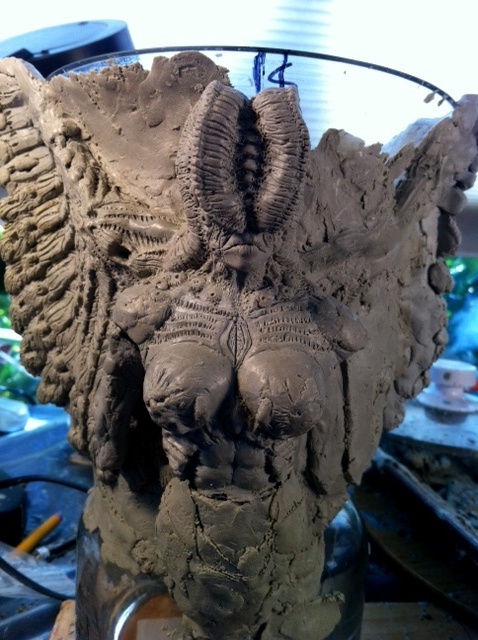
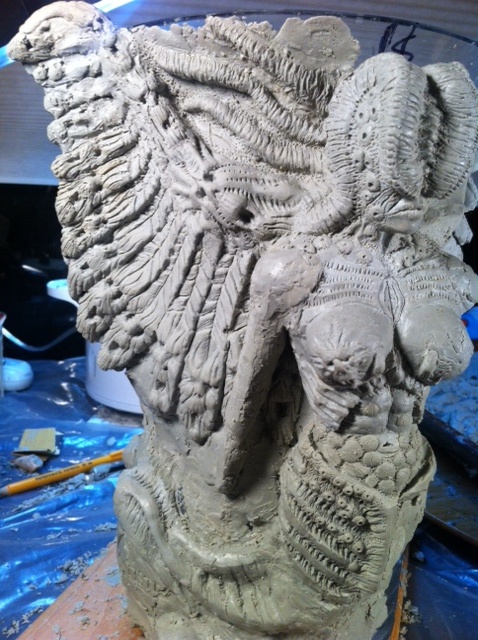
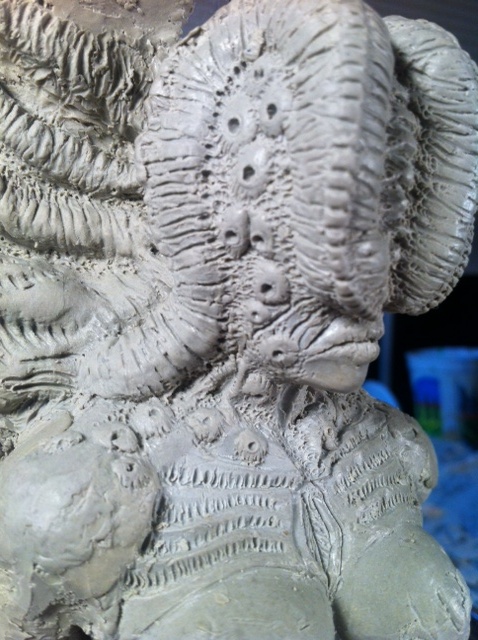
Now that I have the angel underway the next step is to start sculpting the demon. My goal here was to create a figure that was very contrasting to the angel. Since the angel is a very muscular male I wanted to create an opposing creature that was not only female but also composed of an unfamiliar form. Everything is still very rough at this stage but once I start cleaning up the sculpture I think it will all work out well.
** You can also see how the wings will merge together in some of the pics.

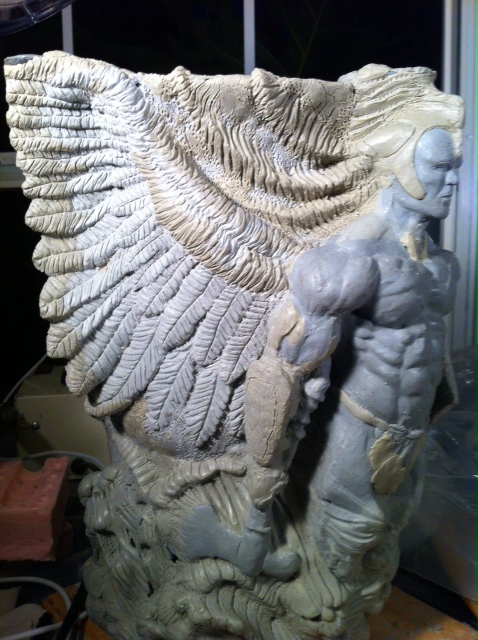
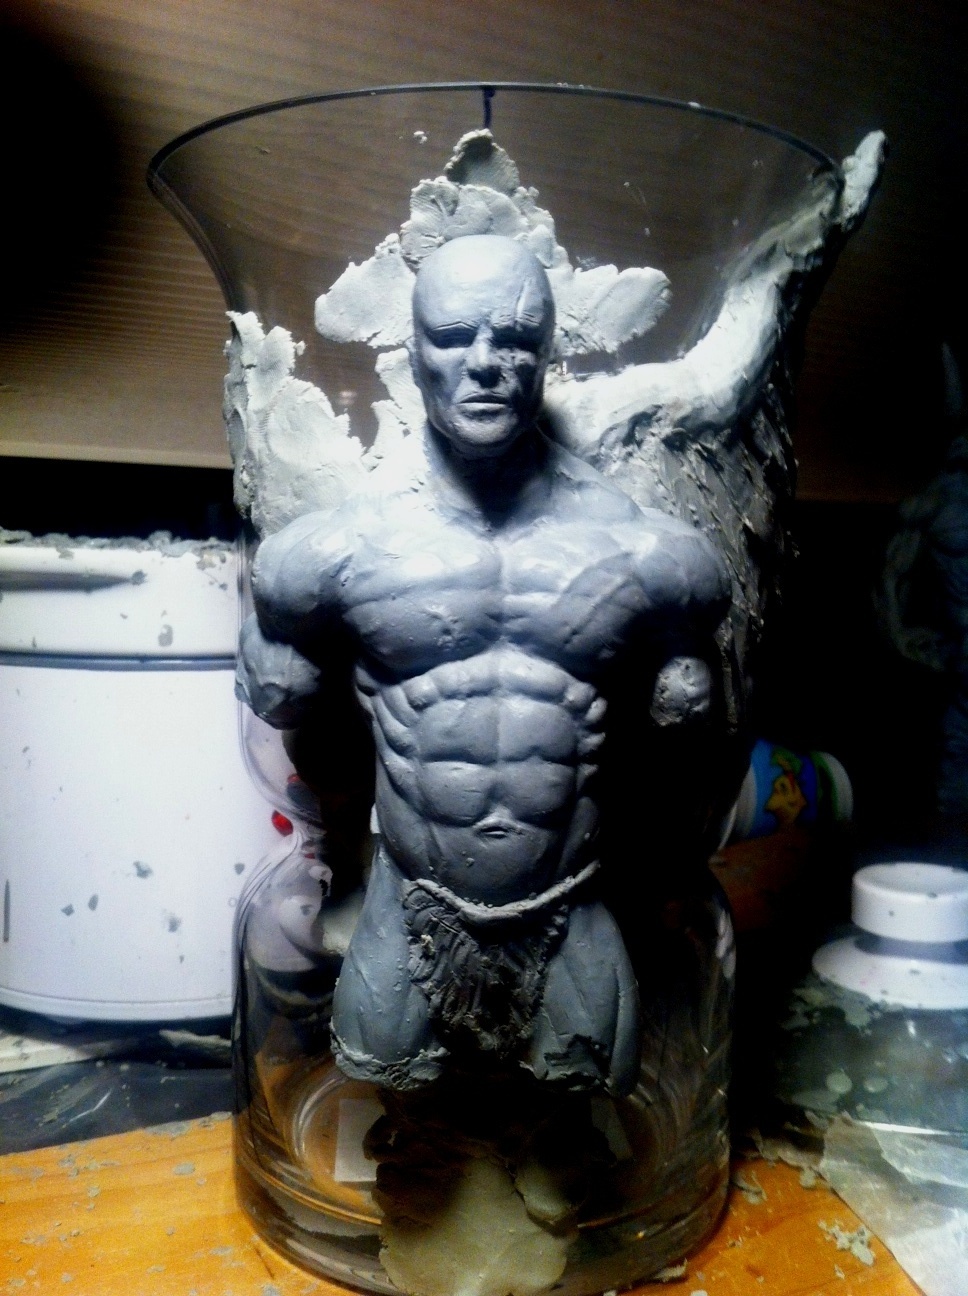
I’ve come to realize that most of my personal sculpting projects will probably never get completed. One example of this is a warrior angel sculpt that I started some time back. I really like a lot of things about this sculpture and after closely looking at it again I felt that it would be a great addition to my new cigar ashtray. The side benefit here is that I’m also able to shorten the amount of time that it will take me to complete this project.
The gallery below shows some progress pics of my angel. I’m sculpting the wings from scratch since the original ones really didn’t work well with my vase.


My goal for this tutorial is to show step-by-step how the GoreArtistry cigar ashtrays are created from concept to the final product. The tutorial will be covering the following topics.
- Basic picture tutorial for the sculpting of the ashtray
- Creating the mold
- Pouring a cold-cast bronze
- Sanding and polishing the cold-cast bronze
- Final product
The first step in any project is coming up with a design. Great sculpting on top of a poor design will in most cases result in a mediocre product. However, I’ve seen projects that have great designs with average sculpting skills create something that really is interesting to look at. My goal is to hopefully strive for the best of both worlds with a product that results from above average sculpting skills and a great design (we shall see if I’m able to pull it off). Read the rest of this entry »
For those of you out there that enjoy cigars, or know someone else that enjoys cigars, we are holding a Facebook contest where you could win one 0f the GoreArtistry cigar tools or ashtrays for free. The contest rules are as follows.
One lucky winner will win any one item of their choice (set of nubber & draw tool, or an ashtray) from the cigar tool line up (all items can be viewed at www.GoreArtistry.com).
The way this contest will work is as follows:
– Once there are 200 likes on the GoreArtistry Cigar Tools Facebook fan page I will place paper numbers from 1 to 200 in a bucket and draw one number at random.
– Which ever number is drawn the person with the same like number will win. Example say you were the 50th person to like the fan page and the number 50 is drawn then you will be the winner. I am setting the contest up this way so the people that have already liked the page will have a chance to win also.
– The link for the fan page is: http://www.facebook.com/pages/GoreArtistry-Cigar-Tools/171704929580799