Building out the individual components of the fiddle
Now it is time to start building out the different components of the fiddle. I plan to give my fiddle a little flavor so do not expect it to look like a traditional fiddle. Instead, my goal is to tweak the design a bit using my own unique style. There is nothing wrong with a traditional looking fiddle and I’m not going to radically change anything but I wanted to create something that just didn’t look like something you see in our environment.
The polymer clay I am using for this particular piece is Super Sculpey.
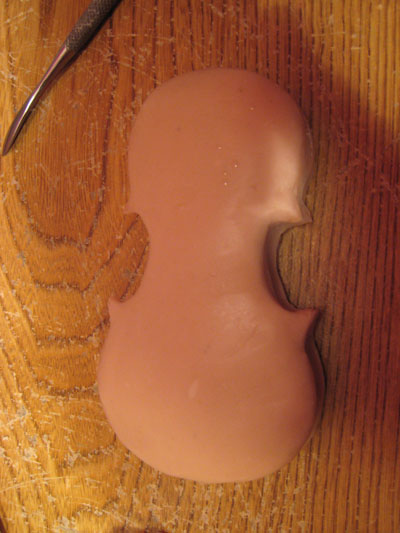 |
Ok, if you read the last lesson you are already aware that the fiddle was baked at the end of the lesson. After each baking I have to add Vaseline to the sculpture so that the new clay will stick. I’m not going to show this step again since I’ve already covered it in several lessons. I do not want the top of my fiddle to be flat so I have added a rounded surface to it. Nothing extreme but it does give it a little shape. |
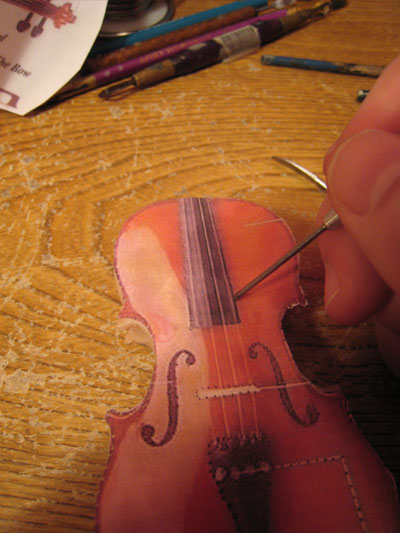 |
In this step I cutout my template, or picture of the fiddle that I am using, and have placed it on top of my clay fiddle. I am going to punch holes through the template into the clay to outline where the individual parts of the fiddle go (neck, bridge, etc) |
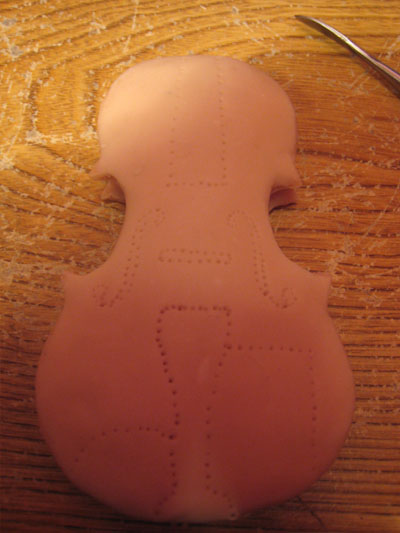 |
And here is what my fiddle looks like once the template has been removed. |
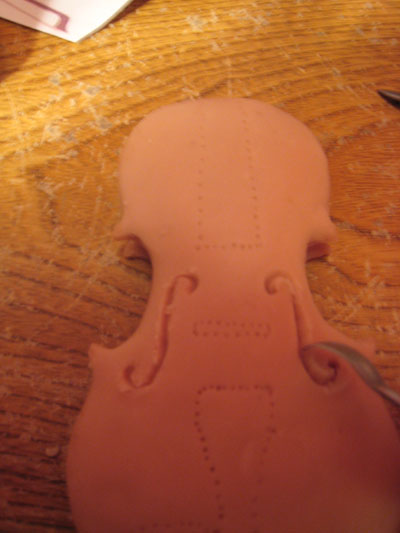 |
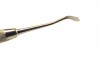
I start out by carving out the F-hole in the fiddle. |
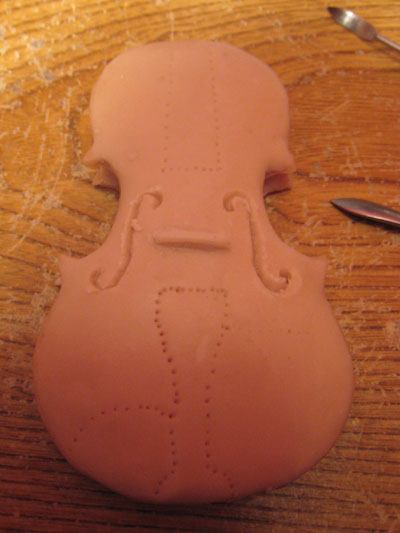 |
Next, I start adding a little clay here and there to the individual parts. In this picture I have started adding clay to the bridge. |
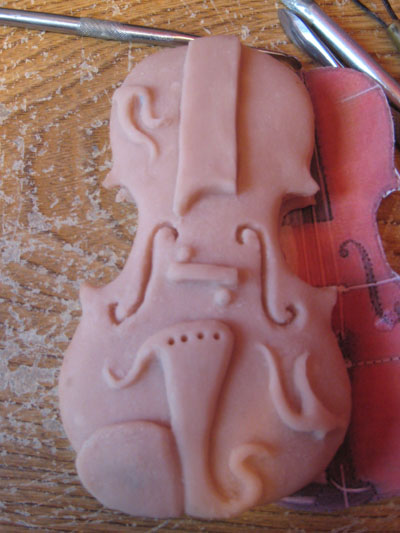 |
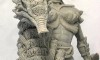
As I stated at the beginning, I’ve added a few of my own embellishments to the fiddle. I want a unique design so I am shooting for something that was a little off the norm. I also baked the sculpture again after I finished sculpting the body. The next step will be to add the neck to the fiddle. |
Next lesson – Cutting out the fiddle neck
Previous lesson Bulking the Fiddle