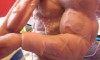
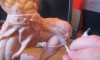
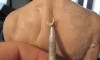
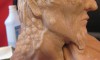
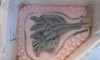
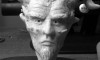
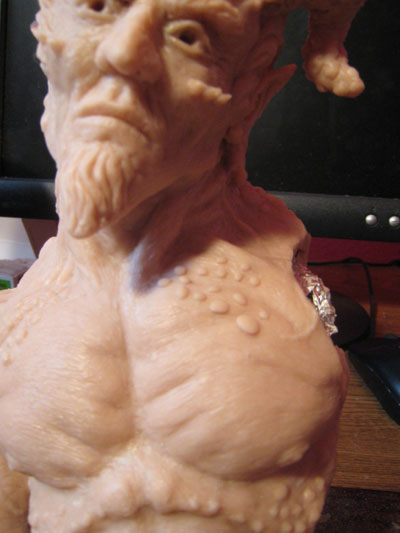
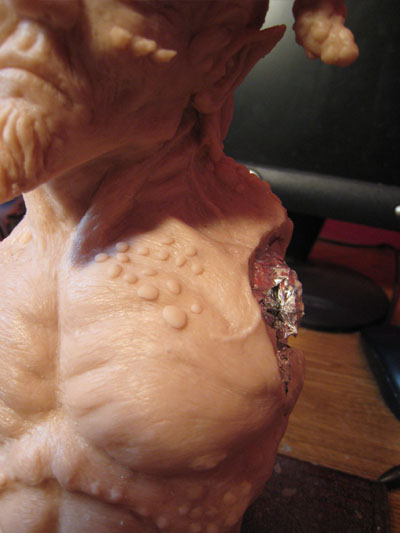
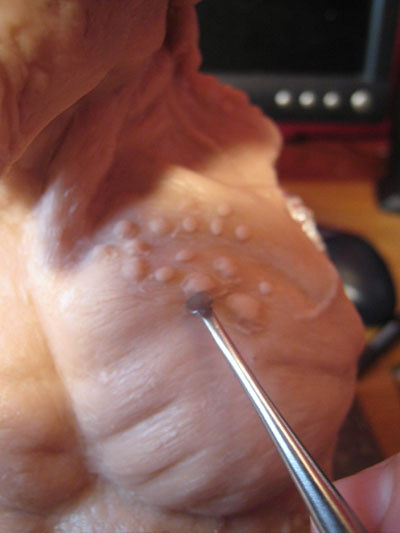
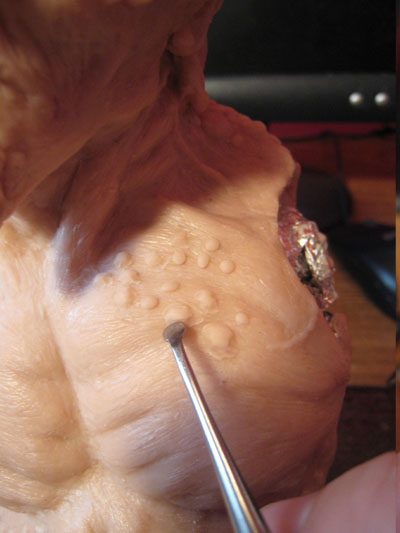
Adding Bumps to the Chest
I like to add my own style to my artwork and one of the things I wanted to carry across in the design of this sculpture was the bumps that I used on the neck and the back. The textured bumps are very simple to make and in all reality the most difficult part in the process is in the layout of the design. I’ll break down the steps below which will be followed by a picture tutorial.
- Role small balls of clay and squish them into the base of the sculpture
- Create the pattern you want to use before permanently blending the balls of clay into the chest.
- Using a sculpting tool, dental tool in my example, blend or pull the edges of the clay into the base of the sculpture.
 |
 |
|
 |
 |
|
Next lesson – Attaching the arm to the shoulder
Previous lesson – Adding hair to the elbow