Polymer Clay Fan

Free Sculpting Tutorials

Sculpting Scales

Posted by goregt On September - 17 - 2012

There are a lot of different ways you can sculpt scales and the tutorial below is just one of many examples that you can use. I’m using a wax in this tutorial but the same steps can be used with polymer clay.

  1. The first step is to design and sculpt the forms of your sculpture (i.e. muscles bulging, wrinkles in skin, etc)
  2. Next, using a sharp tool I will draw patterns into my wax.
  3. Periodically I’ll brush away the excess wax to clean my surface while I work.
  4. Once I have my pattern to my liking I’ll go back and carve a deeper cutout around my shapes.
  5. After the excess wax has been removed I’ll begin to smooth out and clean up the sculpture with Odorless Mineral Spirits (use rubbing alcohol if you are sculpting with polymer clay). Read the rest of this entry »

Angel & Demons – Angel Updates

Posted by goregt On May - 23 - 2012

Few pictures showing my latest updates.  Most of my recent work has been on the right side of the angel.  I’m now working on the left side and hope to have him completed here in a few weeks.  After that the demon side of the cigar ashtray is left with some minor work on the top of the vase.

Angel & Demons – Working on the Logo

Posted by goregt On February - 10 - 2012

When working on a larger sculpture I like to bounce around a lot by not spending too much time one a particular section. I’ve found that the overall sculpting seems to flow better when you move around the various forms.  Also, since I usually spend anywhere form 100-200 hours on  my larger pieces I’m able to keep the sculpture more interesting by investing a limited amount of time on each section.  The other advantage for moving around is that it is easier to make the overall sculpture more symmetrical.

I have to admit though that at times I tend to become too fixated on one section.  For example, I’ve been guilty on many occasions for putting too much work on one side of the body while ignoring the other half (which is unfortunately happening on this piece).  This mistake can create a huge headache when I try to blend the two forms together.  However the mistake is easy to make because sometimes you just want to really flesh out one section of a sculpture to see if you like the design enough to carry through the entire piece.

I’ve spent quite a bit of time on the demon half of this sculpture and have decided to revisit the logo on the sculpture so that I can break up the monotony a little bit.  The logo falls under where the wings join together and really merges the angel and demon halves of the ashtray together.  I’ve included a few pics below on my progress and will take more pictures once I come closer to completion.

Angel & Demons Cigar Ashtray Tutorial

Posted by goregt On January - 31 - 2012

My goal for this tutorial is to show step-by-step how the GoreArtistry cigar ashtrays are created from concept to the final product. The tutorial will be covering the following topics.

  1. Basic picture tutorial for the sculpting of the ashtray
  2. Creating the mold
  3. Pouring a cold-cast bronze
  4. Sanding and polishing the cold-cast bronze
  5. Final product

The first step in any project is coming up with a design. Great sculpting on top of a poor design will in most cases result in a mediocre product.  However, I’ve seen projects that have great designs with average sculpting skills create something that really is interesting to look at.  My goal is to hopefully strive for the best of both worlds with a product that results from above average sculpting skills and a great design (we shall see if I’m able to pull it off). Read the rest of this entry »

Cigar Ashtray Sculpting Trick

Posted by goregt On August - 11 - 2011

Skull cigar ashtray

For the most part I live a very healthy lifestyle, I’m in the gym six to seven days a week, eat very clean (except for Saturdays) and rarely drink.  I’m not oblivious to the fact that most people will probably find me to be a pretty boring person but hey I am what I am.  However, that being said one of the vices in my life is that I like to smoke cigars.  I don’t get to smoke them often, at best only a couple times a week, but they are something I’ve come to really enjoy over the years.

I enjoy collecting different cigar accessories, for example lighters and cutters, however one of the key accessories that was missing from my collection was a cigar ashtray.  There are quite a few cigar ashtrays out there that have a good design but I have yet to find one that really grabs my attention.  One of the key advantages of being an artist is that if I’m unable to find what I’m looking for in the commercial market I can always create it myself.  I wanted an ashtray consisting of skulls and skulls so it was off to the workshop to begin my project. Read the rest of this entry »

Soul Collector – Pulling a Mulligan

Posted by goregt On January - 12 - 2011

One of the risk of letting a project sit on a shelf for too long is that as your skills develop it potentially is less likely that you will complete the project.  I’m sure there are quite a few of you out there that completely disagree with me but in my office I have a large number of unfinished sculptures that will never be completed. In all honesty most of the art that I have created is unfinished which brings up another point. Sometimes it’s really a good idea to see yourself to the end of a piece before jumping around to something else (one of my personal goals I’m trying to work on).

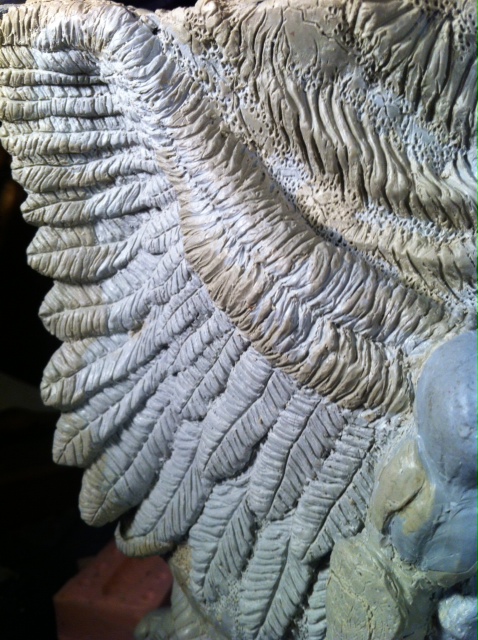
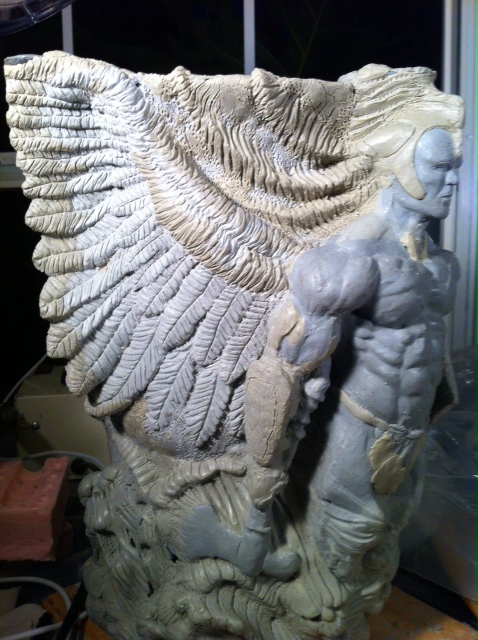
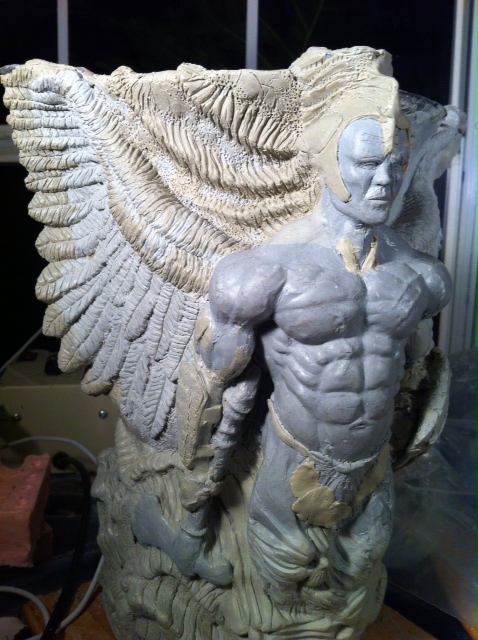
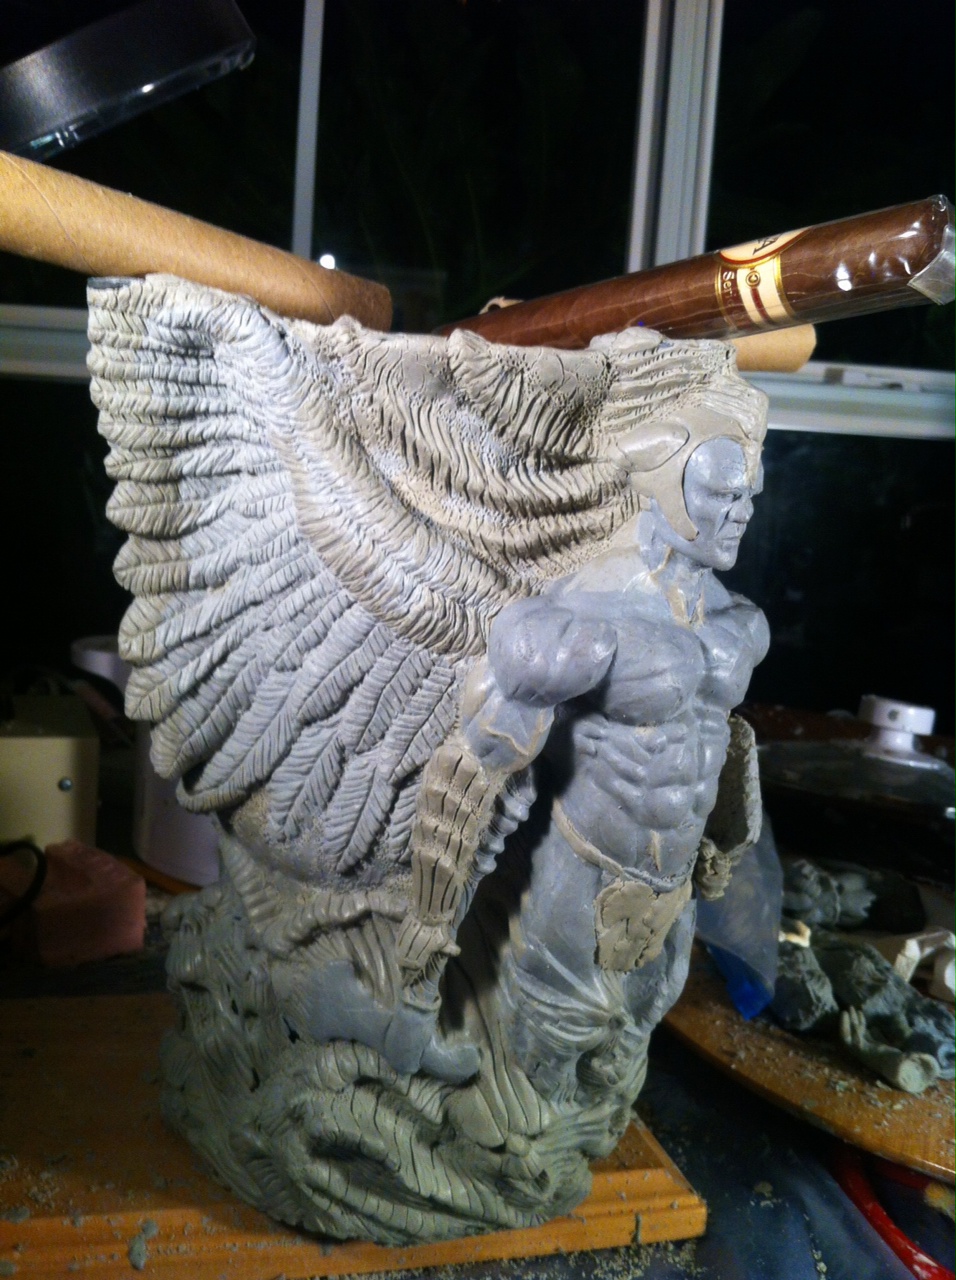
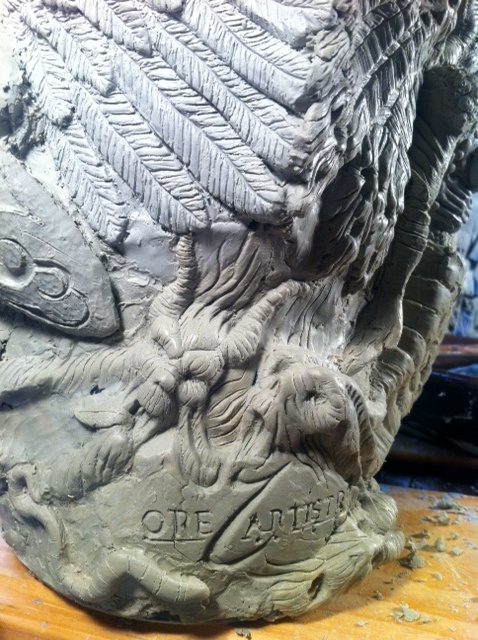
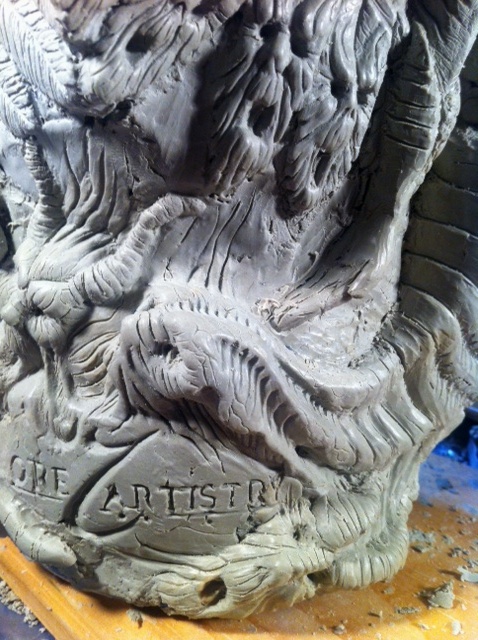
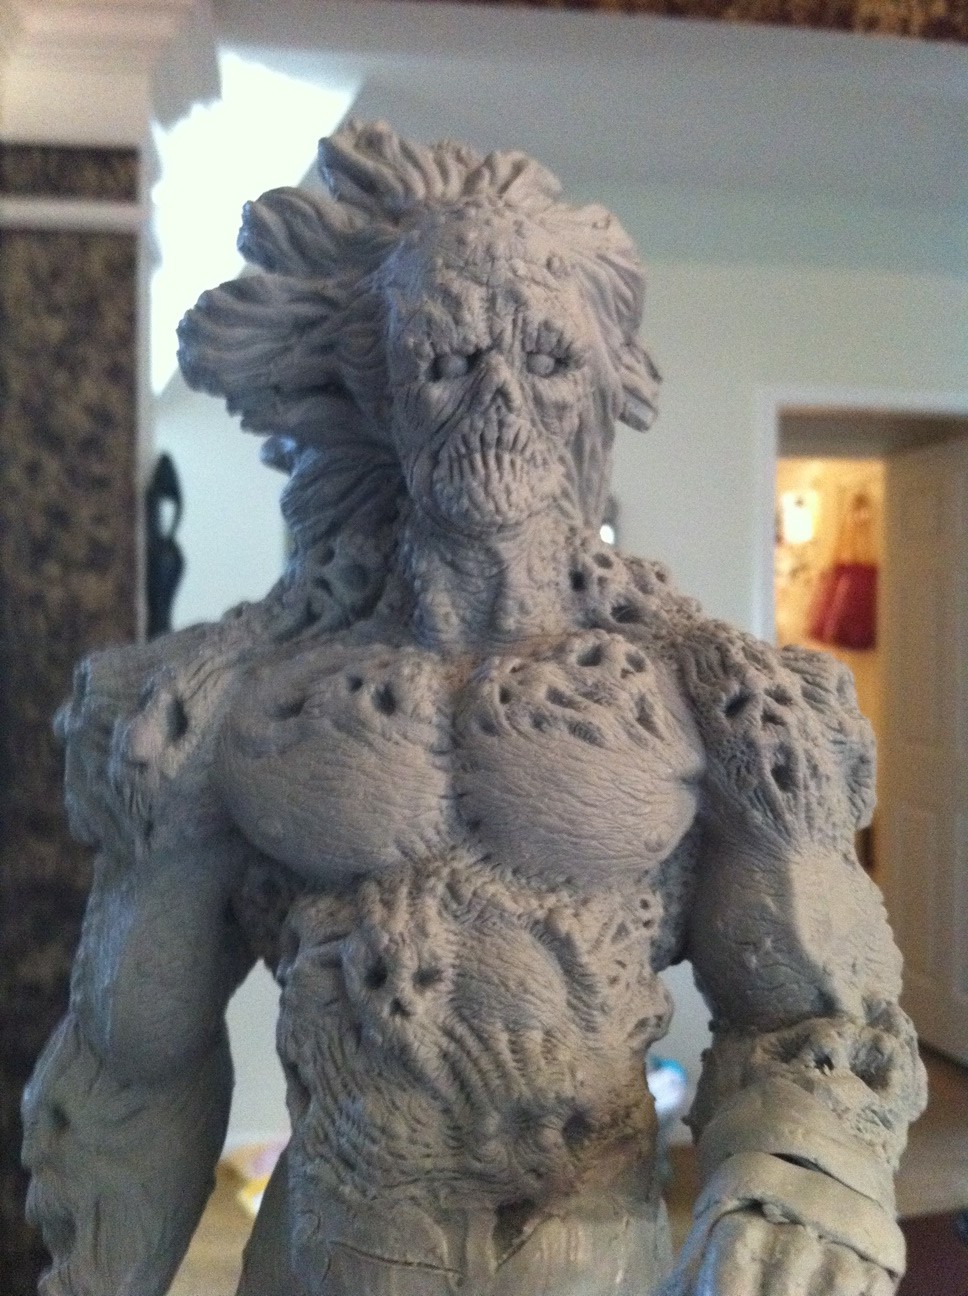
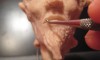
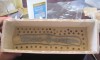
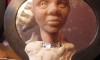
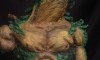
A couple years back (or more) I wanted to create a sculpture of what I called a soul collector.  Basically a Grim Reaper type of creature that has a variety of lost souls swimming under his skin.  I’m attracted to the concept of this project for the most part because of the complexity involved in being able to pull off the sculpt.  Sculpting the individual souls under the skin is one thing but making the entire project work to where it doesn’t look like a convoluted mess  is a different beast to conquer.  I’ve been working on and off with this project for over two years now (more off than on) and now that I’m ready to finish it I’ve come to realization that I do not like the direction that I have taken with my original sculpture. To start the sculpture has some symmetry issues and I’m not all that in love with the overall design.  I can fix all the problems but basically I’ve reached a point where starting over will probably cost me less time than trying to fix this sculpture.  It’s not that the sculpture is bad and I have received positive feedback on it but I’ve basically reached a point where my skills and design taste have changed enough where starting over is the best option.

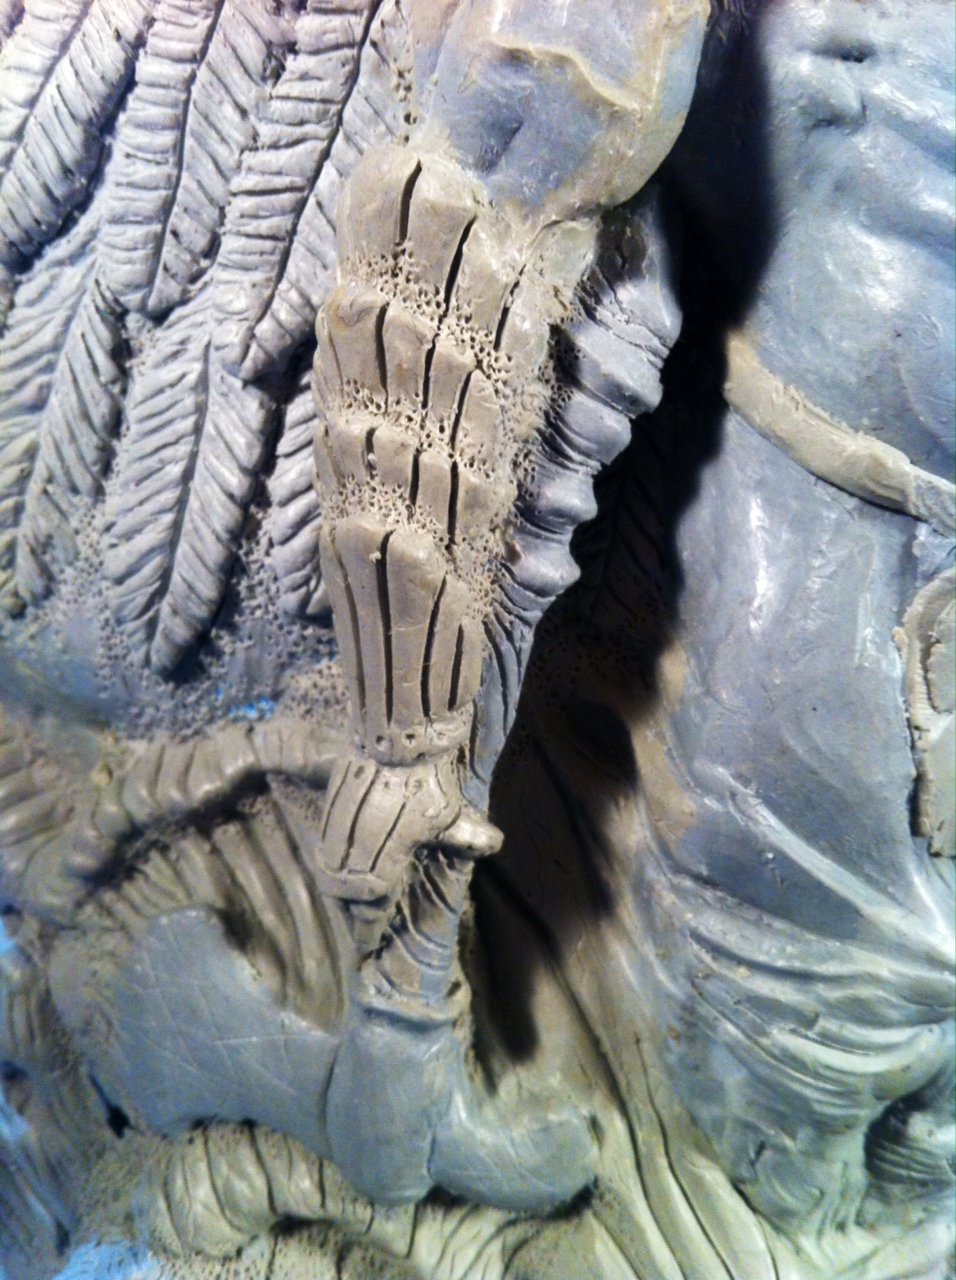
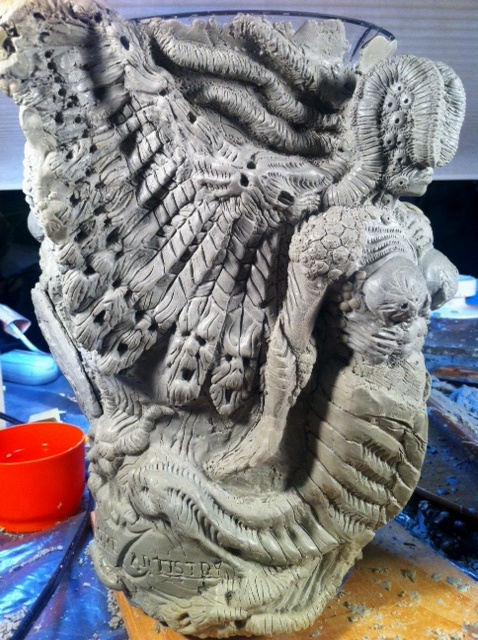
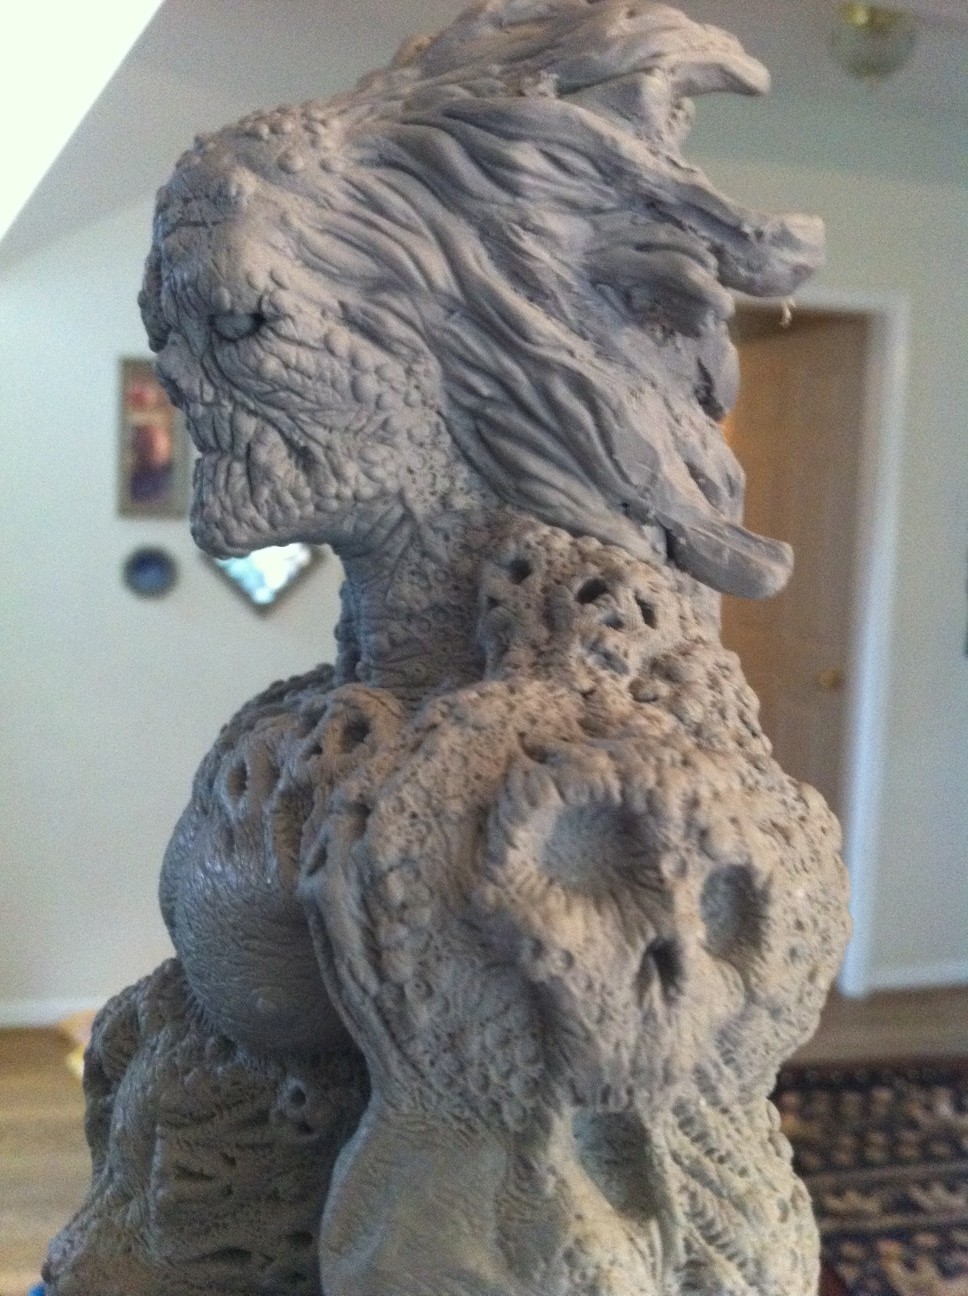
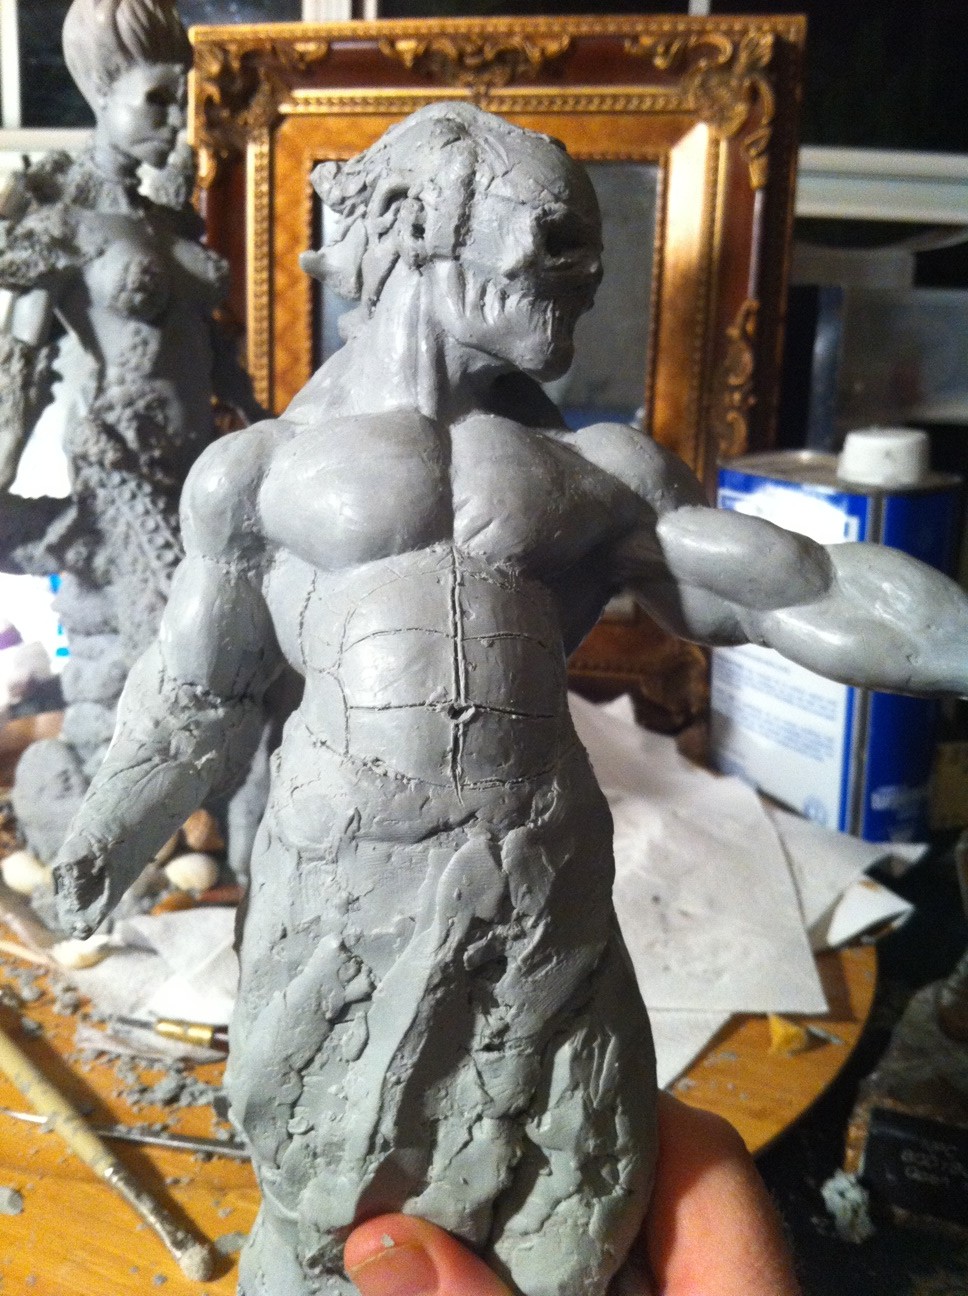
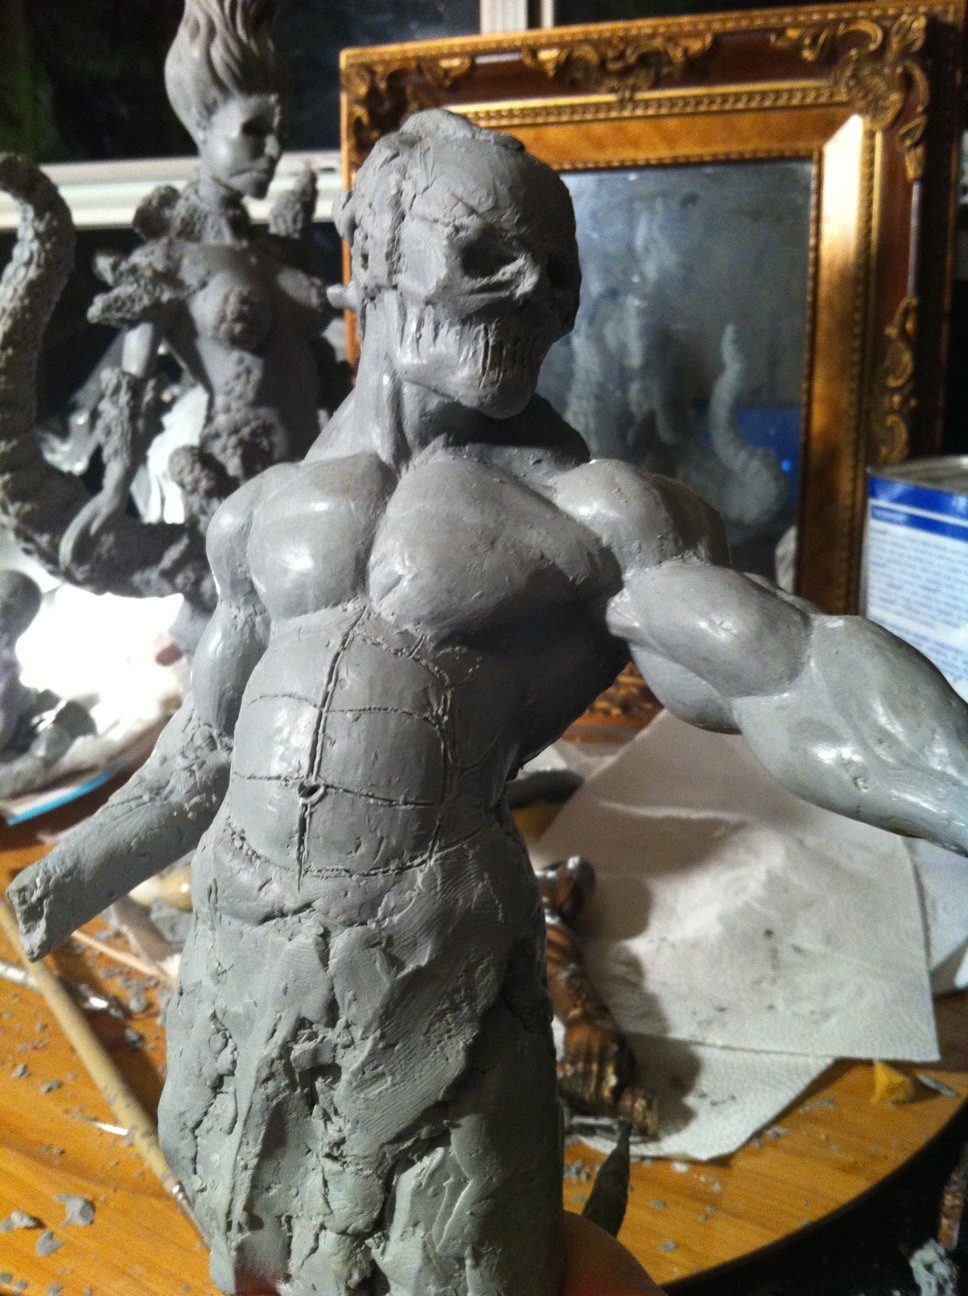
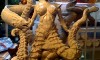
So, to avoid getting too wordy here I’ll show of a collection of picks of my original concept along with the project I’m current working on.  Keep in mind that the latest sculpt is still in the early stages so it has a long ways to go until the details are caught up with the original piece. The first three pictures are my original design and the last two represent the newer sculpt.

You can see more on this sculpture at www.goreartistry.com

Tribal Back – 5

Posted by goregt On October - 7 - 2009

Not a lot going on with this lesson but I thought I would give a look at the back from one more angle. The left side of the back is as far as I’m going to take it until I move forward with the right half of my back. I wouldn’t recommend sculpting a back this way because it can mess up the balance of the muscles in the piece. The best approach is the sculpt the entire form at once. The only reason why I broke it down into the shapes is because I wanted to show a contrast between the two halves. Read the rest of this entry »

Tribal Back – 4

Posted by goregt On October - 6 - 2009

The top half of my back still needs some work but I want to move on to the lower back to try and pull all the shapes together. I’m going to need to start working on the right half of the back pretty soon to make sure that all the shapes are coming together correctly. Once I sculpt the right half I should get a good idea if any of the individual shapes need to be reworked.

For this step I’m sculpting the muscles and skin folds that make up the lower back. Again using a loop too I carve out the areas individual muscles. If I carve away too much I can always go back and add little bits of clay here and there but since the lower back already has too much clay I can carve away the shapes for the folds of skin (and muscles). Read the rest of this entry »

Tribal Back – 3

Posted by goregt On October - 5 - 2009

Step three in this tutorial builds on the first two steps that we used to sculpt the back. I continue to build out the individual forms by adding and removing clay to mimic the shapes in my resource material.

For this sculpture I am sculpting the details on the left side of the back first and then will move to the right side. I’m only doing it this way because it is a little easier to create a tutorial using this method. If I was just sculpting this without trying to document the process I would sculpt both side of the back at the same time. Read the rest of this entry »

Tribal Back – 2

Posted by goregt On October - 1 - 2009

In the last tutorial I briefly went over how I like to draw out a rough outline of the different muscles. I use this trick on quite a few places on the body and it really helps be understand and build out the individual shapes. For example, I like to draw out the individual muscles when I sculpt muscular arms and very lean abs. The back also has a lot going on so even though my outline is pretty rough it still helps me break down the back into the individual muscles (or shapes).

The first step is to separate my back into two halves. Now you can’t just simply carve a line down the center of the back, otherwise your sculpture will look like it has a canon going down the center of it. To make the back look more natural I will blend the two halves of the large back muscles (latissimus dorsi) into the area of where the spine is located. This task is easily accomplished by carving the center edges of the back until it gently slopes to the spine. I keep working both halves of the back until I get a look that I am happy with. Read the rest of this entry »

VIDEO

Enter the video embed code here. Remember to change the size to 320 x 270 in the embed code.

TAG CLOUD

Recommended Sites

About Me

Nothing special, just a self-taught sculptor having fun with my art and showing all of you the tips and tricks I use to create my own artwork

Twitter

    Photos

    Activate the Flickrss plugin to see the image thumbnails!