In the last lesson we covered the steps on how to create one half of our silicone mold. The next and final step is to create the second half of our mold. I have documented the process below.
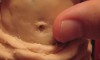
- Once the silicone has cured it is time to cleanup the portion of the sculpture that was covered with the clay bed that we created in lesson two on this tutorial.
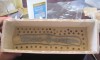
- The first thing that I do is remove the X-acto board box. Be careful not to destroy the box since we will be using again for the second half of our mold.
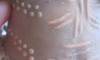
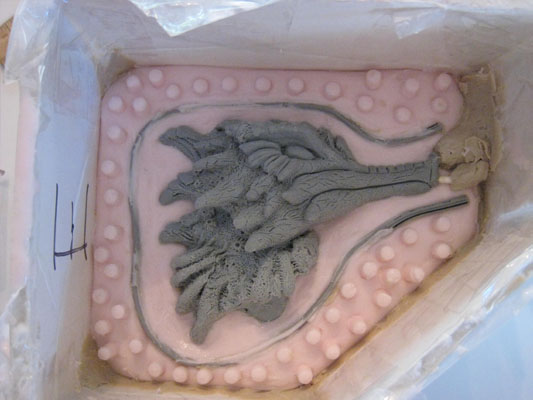
- Once the box has been removed carefully remove the clay bed from the sculpture and the cured silicone. I use alcohol to cleanup the remaining clay off of my sculpture and the silicone covering the first half of my piece.
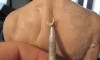
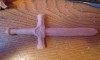
- Add or Rebuild the pouring spout with the clay (this is the area where the resin will pour into the empty cavity that the sculpture use to sit in. In the picture at the bottom of this page the pouring spout is located at the tip of the seahorse’s nose.)
- This next step is the most important step in the entire process…..Apply a thin layer of Vaseline over all of the exposed silicone rubber. If you skip this step the new silicone poured will fuse with the cured silicone creating a tomb for your piece. Vaseline prevents the silicone from fusing together
- Build your mold box around the sculpture where the cured silicone is now the bed of the piece.
- Follow the same process documented in lesson three for pouring the silicone rubber. Make sure that you pour at least a half inch above the highest peak of your sculpture.
Next lesson – Making a Mold – Step Five
Previous lesson – Mold Making Step Three