After the silicone in the second half of our mold box has cured it is time to remove our sculpture from the mold. I’ll go ahead and warn you ahead of time that in most cases your sculpture, or at least part of it, will get destroyed in the process. The steps for this lesson is documented below.
- Remove the mold from the X-acto board mold box. Carefully separate the two mold halves.
- If any of the silicone is sticking together (an area that was not covered with Vaseline), use an razor blade to carefully cut the silicone.
- Remove the sculpture from the mold
- Using tweezers or your fingers remove any fragmented pieces left in the mold (that broke off of the sculpture).
- Wash the mold with warm water removing any remains of your sculpture. Set the mold aside to dry (may take several hours to a day)
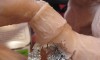
- Using a razor blade cut thin slits from the empty cavity that the sculpture use to sit in to the small trench that outlines your sculpture (Refer to Step Six in lesson two if you do not know what I am talking about)
- That’s it, the only next step is to start pouring the resin which I’ll cover at another time.
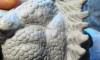
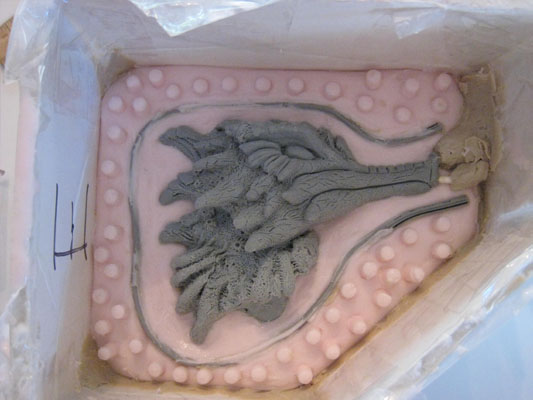 After the silicone cures remove the sculpture from the mold box (leave the sculpture in the silicone). Carefully remove the clay that supported the After the silicone cures remove the sculpture from the mold box (leave the sculpture in the silicone). Carefully remove the clay that supported the |
|
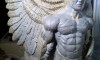
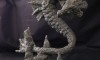
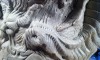
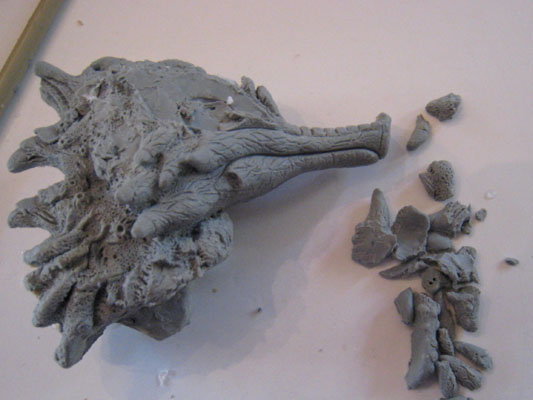 As you can see my seahorse didn’t quite make it. As you can see my seahorse didn’t quite make it. |
|
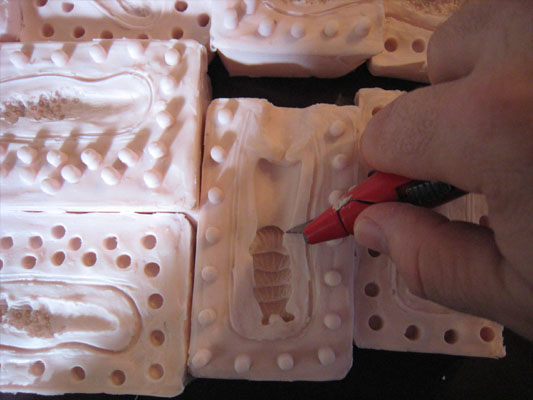 Cutting thin slits from the cavity where the sculpture use to sit to the small trench that surrounds my piece. Cutting thin slits from the cavity where the sculpture use to sit to the small trench that surrounds my piece. |
|
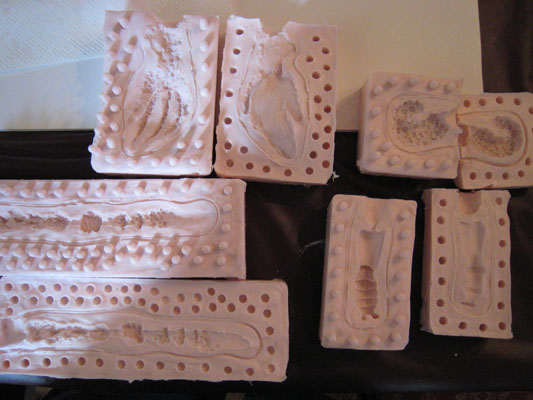 A few examples of my mold boxes. A few examples of my mold boxes. |
Previous lesson – Making a Mold -Step Four


Hi -I am a newbie to sculpting. What is armature wire ? What weight or gauge do I use for what ?
Thanks for your tutes – they are great for my learning curve ( or lack there of LOL)
Patt
Hi Patt,
Armature wire is used to support the sculpture (kind of like the skeletal system in the human body). I put together a little article about armature wires which you can read here
Best of luck,
Gerald