Detailing the Scroll
In our previous tutorial we started to build out the scroll on the fiddle. The base design for the scroll has been built and now it is is time to detail our fiddle’s scroll. I’m not going to fully complete the scroll by adding the keys yet but I do want to get the scroll where it is 95% complete. After this lesson, the fiddle really should look almost complete minus a few minor add-ons that will come later (keys, strings, etc).
What I like about the tutorials for the fiddle is they give a great example of how you can build a sculpture in stages. Instead of focusing on the entire piece you break it down into little individual projects. It is a lot easier to sculpt when you approach a project this way. The key is to focus on one small area at a time by trying to figure out how to create that one piece. Once figured out you then build it and then move on to the next little project. Repeat these steps several times and before you know it you have a completed piece.
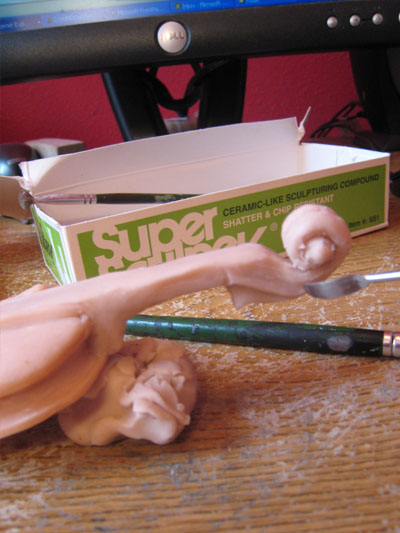
* This sculpture is created with Super Sculpey.
 |
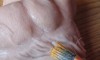
Using the small ball of clay that was added at the end of the previous less I now carve around the ball of clay to give it some depth. I’ve also added a little clay to the bottom of my scroll to give it a little more shape. |
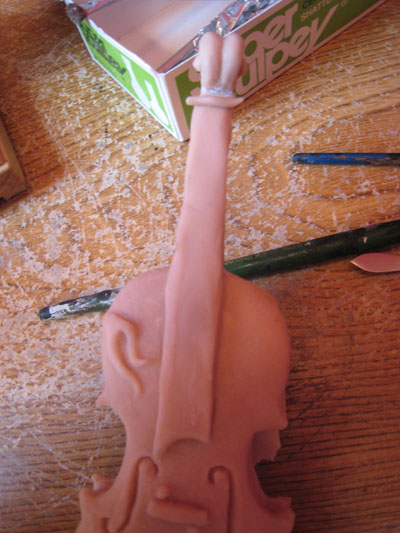 |
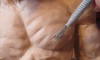
I carve a line down the center of my scroll to give split it into two sides. This creates a lovely design that you see on many fiddles today. |
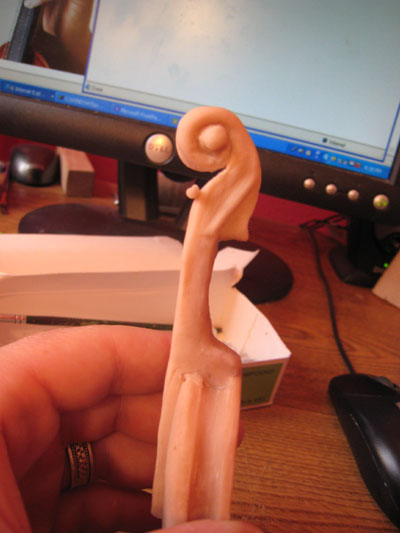 |
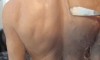
And a side view of my scroll. The little clay snake at the base of the scroll will represent where the stings start inserting into the keys. The next lessons from here will outline sculpting and adding a hand to the fiddle (I want to create the hand the and fiddle all as one piece since it will be easier to work on the details for the hand while it is not attached to the Fiddler) |
Next lesson – Sculpting Fiddlers Hand
Previous lesson Attaching the scroll to the fiddle