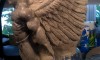
Changing the design of the horns
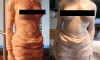
 The original horns on this sculpture have been bugging me for some reason. Although I was not finished with sculpting them, I just didn’t love the way I had designed them. I have been wanting to change the horns around a bit but was not exactly sure what I wanted to do.
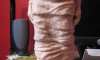
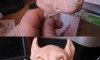
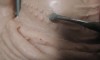
So after setting aside the original design for a few weeks I decided to tackle the horns one more time. I like to make things up on the spot when I sculpt so the first step for me was to smooth out the original design and just start adding clay to the piece.
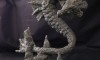
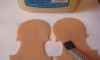
* This sculpture is created with Super Sculpey.