Why bake individual parts of a sculpture?
 Adding detail to a sculpture is probably the most time consuming part of sculpting. I have personally spent hours and sometimes days detailing just one area of a sculpture. Depending on your skill level, experience and speed, sculpting individual body parts like the face and arms can be a time consuming process.
I am a very “hands on” sculptor in the sense that I like to hold and grab the sculpture with one hand while sculpting with the other. I do not have hands as steady as a surgeons so at times I will grab the sculpture with my free hand. Unfortunately in the past I have accidentally grabbed an area of a sculpture that I had spent a lot of time detailing. As one expects, my hard work usually ends up with a giant fingerprint or smudge running through it.To bypass this problem you can bake your sculpture in stages using a heat gun. This is really beneficial when you are not ready to bake the entire sculpture.
Baking individual parts tutorial
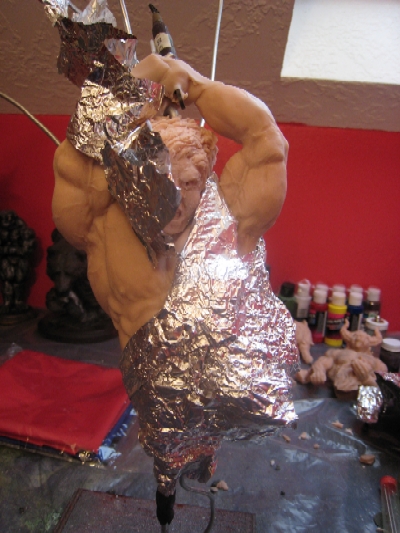
To better explain the process I am going to use an example of a warrior angel sculpture that I am working on. In this example I have already detailed the angels right arm and chest but I still have a lot of work to do on the left side of the body and his face. * Click on the thumbnails to see a larger view of the picture
** This sculpture is created with Super Sculpey
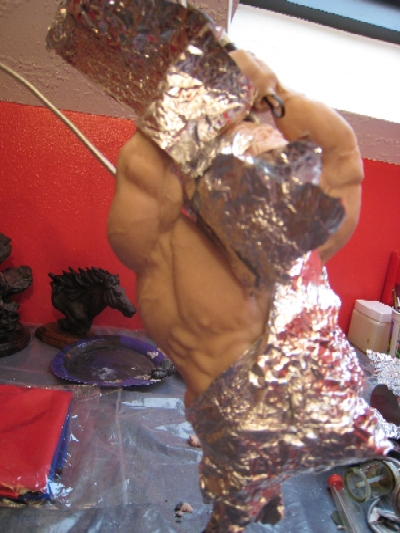 |
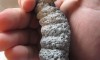
1. The first step is to protect the areas of our sculpture that we do not want the heat gun to apply heat to. I will start off by gently wrapping aluminum foil around the areas of my sculpture that I do not want to bake at this stage. |
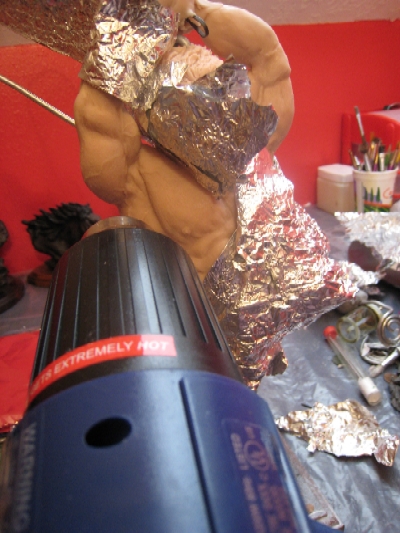 |
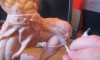
2. Always use caution when using a heat gun, they get extremely hot and can easily burn your sculpture. I use a medium heat on my gun and keep a good distance from the sculpture (around 5 to 8 inches)I also move the heat gun around a little so that I do not apply direct heat to one area for too long. |
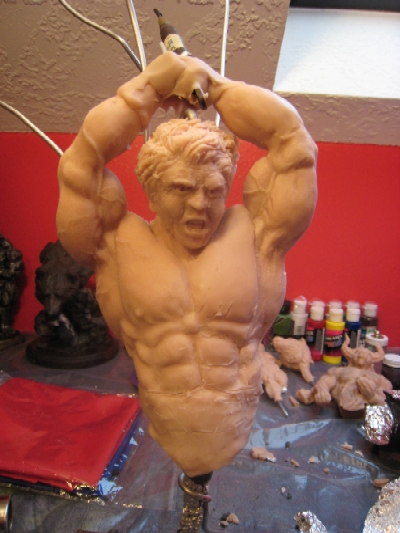 |
3. I used a lower heat setting for my sculpture and baked it, with the heat gun, for about 10 to 12 minutes.Once I have finished I will let the sculpture sit for about 30 minutes to an hour to cool down.There will be a little change in color from the baked and non-baked clay but nothing that should distract you from your work. |
The sculpture is not fully baked to the core so I will bake it again later in the oven once I have finished. The steps outlined above simply just show how you can protect one area of a sculpture while you continue your work on the rest of your artwork.
Now keep in mind that if you want to go back and add additional detail to the sculpture you can easily do so . Just because you baked one area of a sculpture does not mean that you can’t make changes to that area at a later time (reference the second half of the baking sculptures in the oven article) .
If you are interested in a step-by-step progress of this particular sculpture then you can view more about it on my blog at www.warrior-angels.com.


Since you are not baking the core, when you go back and bake it in the oven do you think the “double-baking” will affect the delicate parts?
You can bake the clay multiple times without any issues. The key is to not burn it and bake it slowly.