Finish blocking off the arm
In the previous lesson we built a solid foundation for the left arm. We are now at the stage where it is time to start adding all the little details. The steps in this lesson will build off of the rolling snakes and sculpting veins tutorials (I recommend visiting those
lessons first). We will not finish the sculpting on the arm in this lesson but
by the end of the page the left arm should look like it is getting close to
completion.
* This sculpture is created with Super Sculpey.
I’ll give a brief outline each step below and following the list will include a photo gallery for the sculpting tutorial.
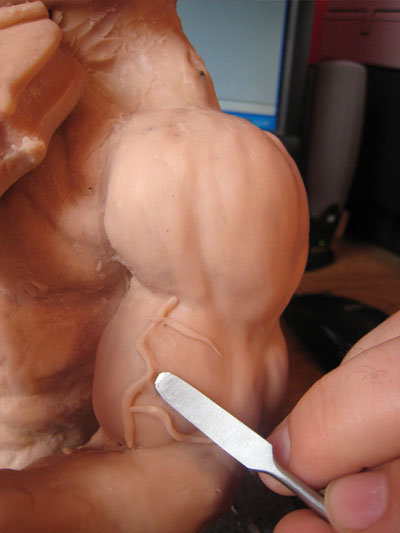
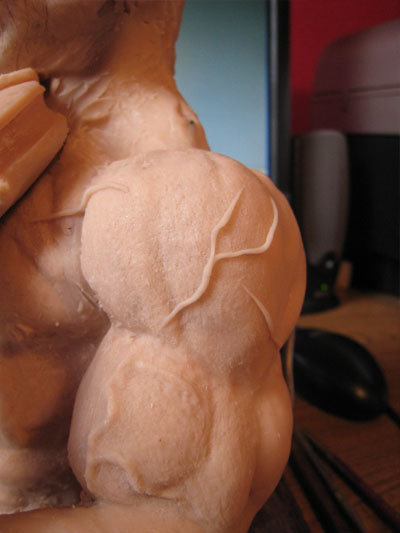
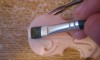
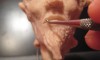
- Using one of my sculpting tools I blend the snake of clay into the arm.
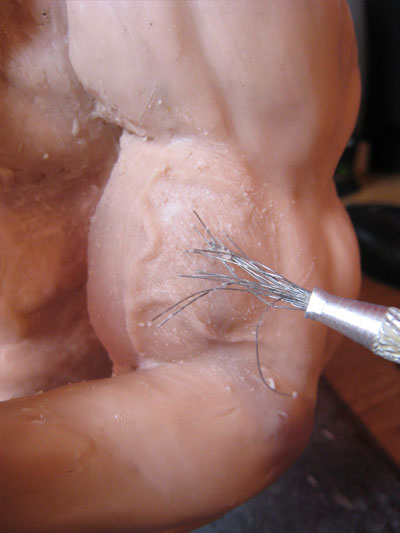
- I continue to blend the clay using a little rubbing Alcohol and a stiff paint brush.
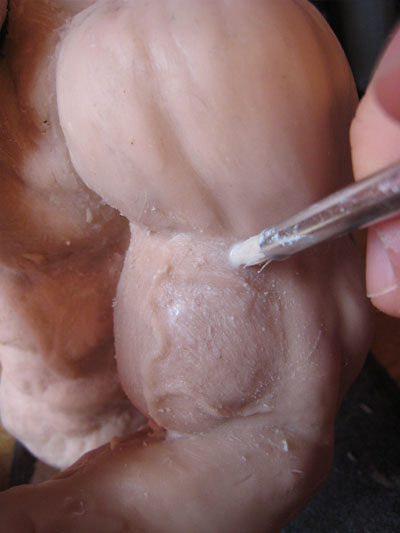
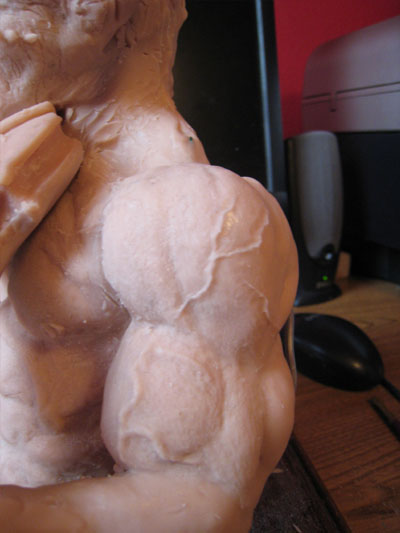
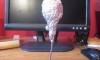
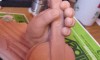
- I use the same steps to detail the skin as I used in the torso skin details lesson.
- Again using a stiff brush and rubbing Alcohol I blend in the details.
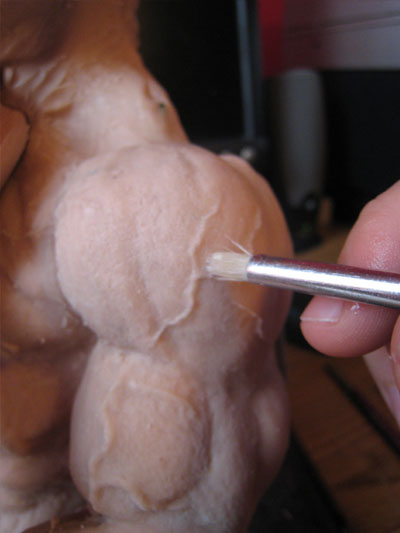
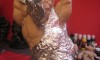
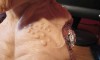
- I am sculpting the shoulder at the same time as the arm so I make sure to add details to both body parts. For me sculpting the arm and shoulder together helps create a more unified piece.
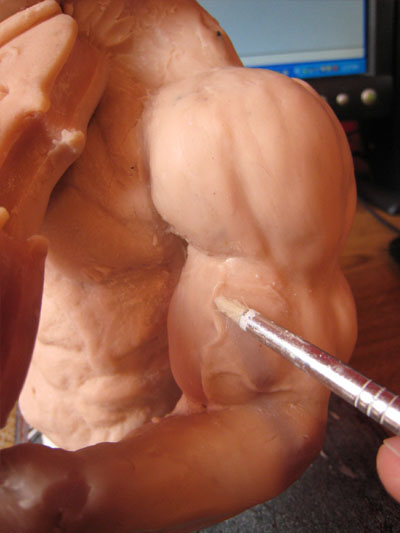
- Just as before I blend the veins into the shoulder using one of my sculpting tools.
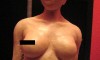
- Texture the skin, smooth out the veins and skin with Alcohol and there you go. The details are a little too soft looking for my liking so I will most likely let the arm sit for a bit while I work on something else. I’ll come back to the arm later to sharpen the details.Tip: Sometimes when smoothing out the clay you can over use the Alcohol. The clay starts to become tacky and hard to work with. If this happens just let the clay sit for awhile so that everything can dry out.
Next lesson – Changing the design of the horns
Previous lesson Finish blocking off the arm


[…] To see this tutorial and others, visit the PolymerClayFan Free Sculpting Tutorials Website. […]