Attaching the neck to the fiddle
Ok, now that we have a pre-baked neck for our fiddle it is time to attach it the body. For this particular sculpture there has been a lot of sculpting then baking and then sculpting again. I’ve already baked various components of the fiddle multiple times through this series and will be baking a few more times before everything is completed. Not all of my sculptures work this way, in actuality most don’t, but for this piece is just seems to be the best approach. Once a piece is baked it is hard and easier to work with. The key is to be able to add more clay to the baked piece so that you can add the details. You will wee exactly what I mean in the next couple of lessons.
The polymer clay I am using for this particular piece is Super Sculpey.
 |
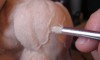
Apply a light coat of Vaseline (Petroleum Jelly) to the bake fiddle components. Don’t forget to wipe the Vaseline off with a tissue before applying clay. |
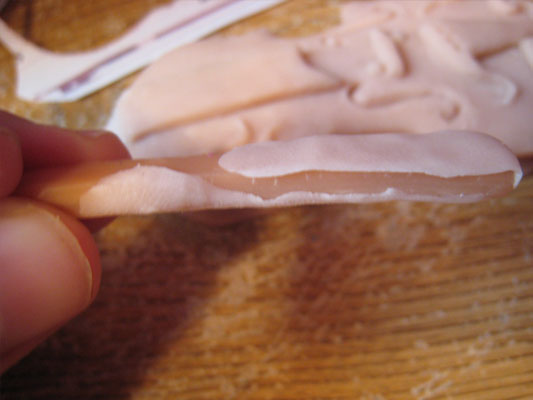 |
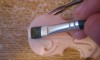
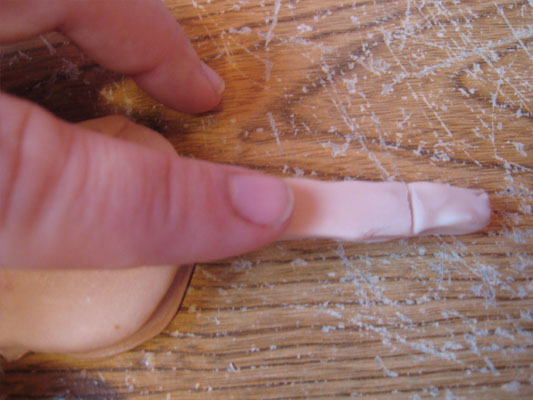
Add a thin layer of clay to the neck to the fiddle’s neck (was baked in the previous lesson) |
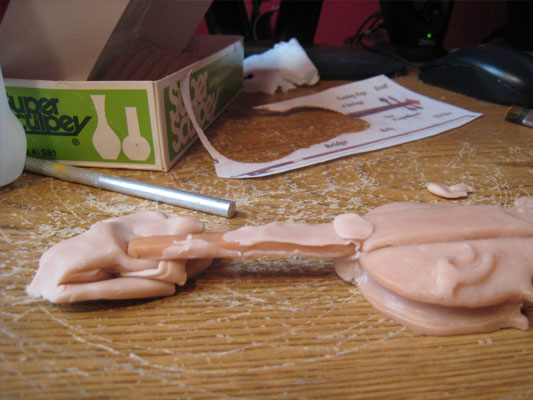 |
If you read the previous lesson then you saw that I would have sculpted things differently if I had to do it all over again. Here is the reason why I said that. There is no support for the neck on the fiddle. To get around the issue I add a ball of clay to the bottom and top of the area where the neck and body of the fiddle come together. I also support the fiddle’s neck with a lump of clay so that the weight of the neck does not cause my piece to break. |
 |
Ok back to the oven. My goal here is to just get the neck attached and create a hard piece of clay to work with. This will be my foundation for the neck. Same as before, I bake at 275 degrees for 15 minutes. |
 |
Once my fiddle has cooled down I again apply a thin layer of Vaseline and clay to the previously baked parts. |
 |
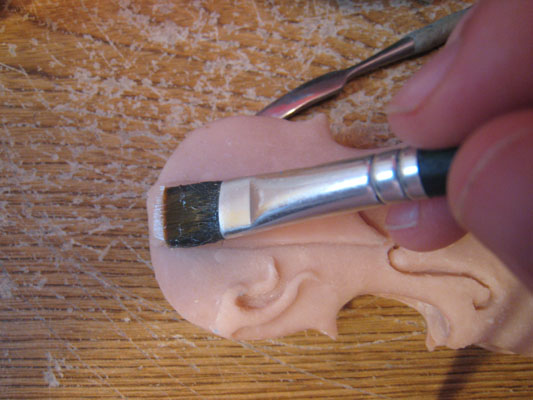
Smoothing everything at and starting to bulk up the neck on the fiddle |
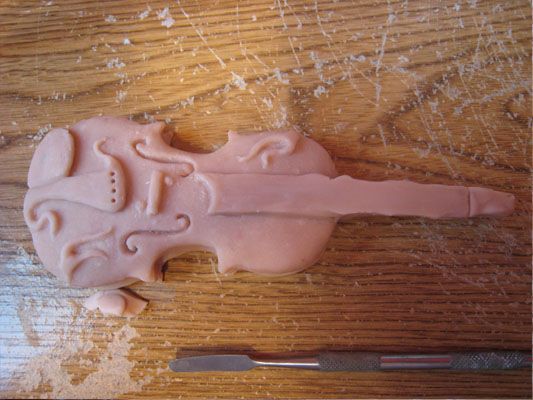 |
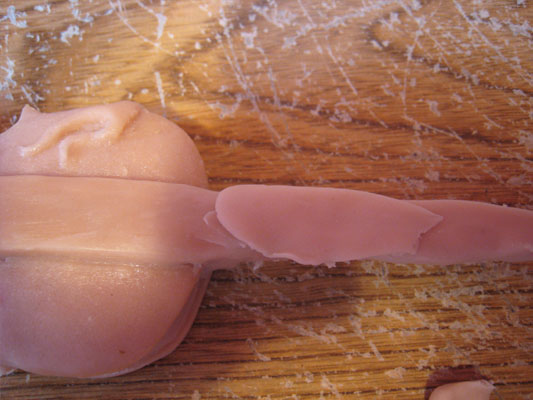
Looks a little rough at this stage but believe or not we are starting to make real progress here. My neck is a little too long and I plan to sculpt the top of the neck separately. I draw a line where I think my neck should end. |
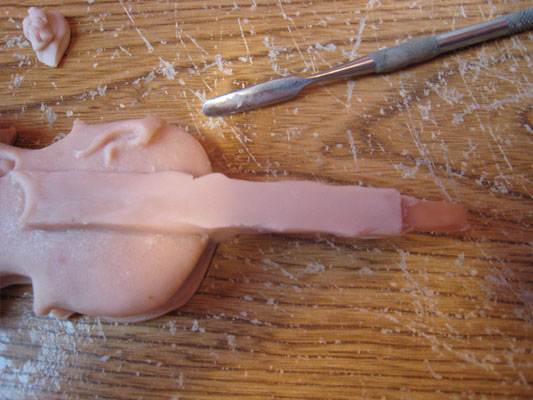 |
Remove the clay from above the line and ……. |
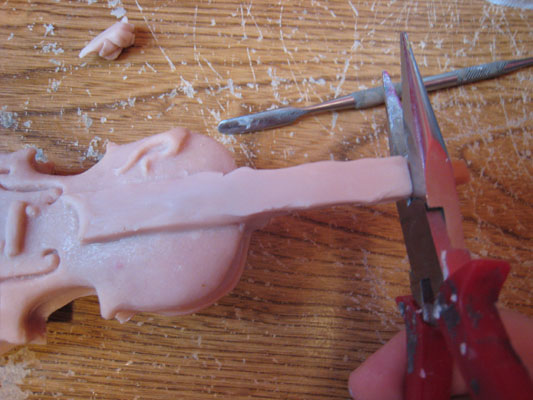 |
Cut the excess clay to get the right length. |
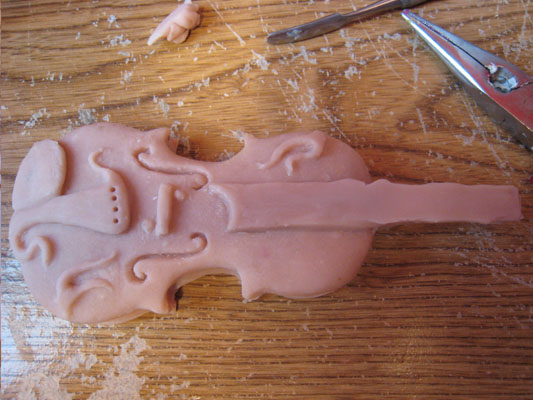 |
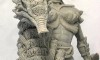
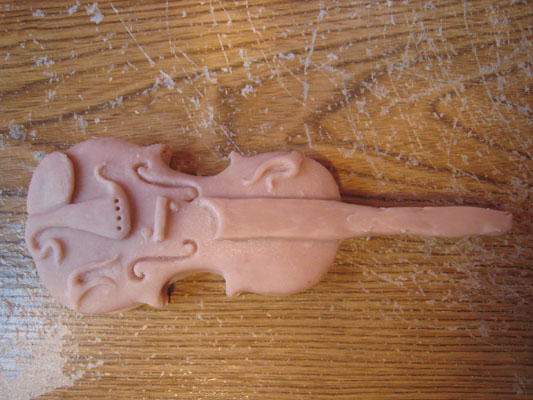
Still rough but here is what the fiddle now looks like with a basic neck attached. I have some work to do but we are getting closer to completion now. |
Next lesson – Sculpting the scroll
Previous lesson Cutting out the fiddle neck