Sculpting the Fiddler’s Hand
I already have another tutorial about sculpting a hand with polymer clay but the images were taken with my old camera and I felt this was a good opportunity give an older tutorial a fresher look. I’m only going to create a rough hand since I will later attach it to the fiddle. Hands can be a little tricky to sculpt so the key here is to spend as much time as necessary to get the sculpting down correctly.
If sculpting hands come naturally easy to you then a big kudos to you. I myself still find the hands and eyes the most difficult things to sculpt. However, I have improved because I have invested those long hours making sure that I got everything down correctly.
* This sculpture is created with Super Sculpey.
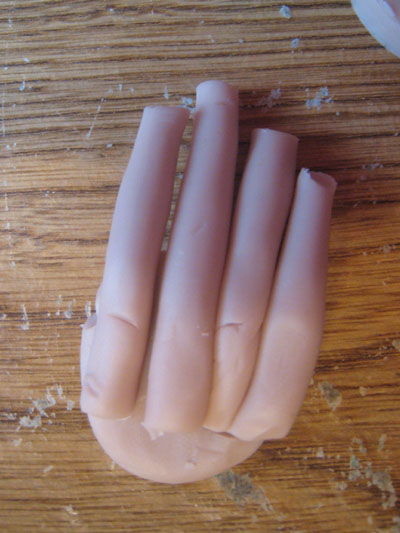 |
Roll out a ball of clay and four snakes. The ball will be used for the palm and base of the hand while the tubes of clay, or snakes, will be used for the fingers. |
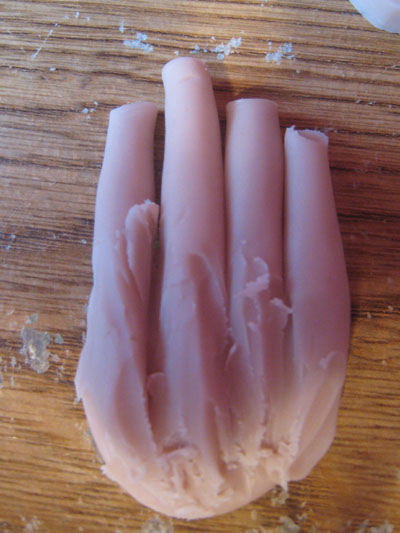 |
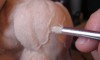
Using a sculpting tool, or your finger, blend the base of the fingers into the ball of the clay |
 |
I’ve now added another snake of clay for the thump. I add a little more clay to the base of the hand, smooth everything out and before you know it I have a pretty good outline of a hand. |
 |
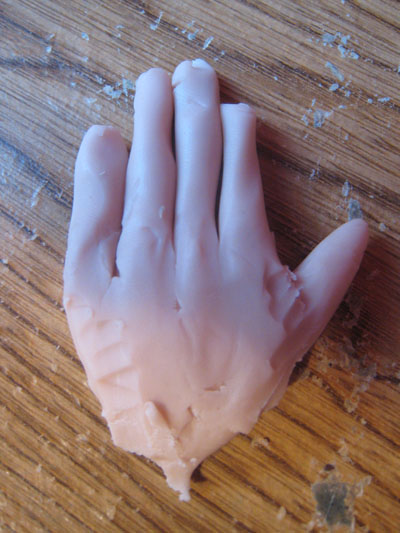
I add little balls of clay that will end up being the knuckles on my hand. The snakes at the bottom will represent the bones in the hand. |
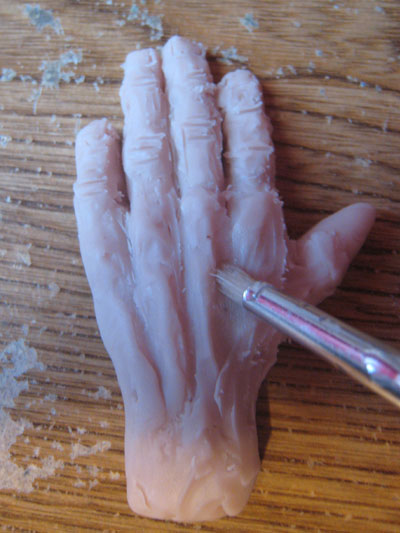 |
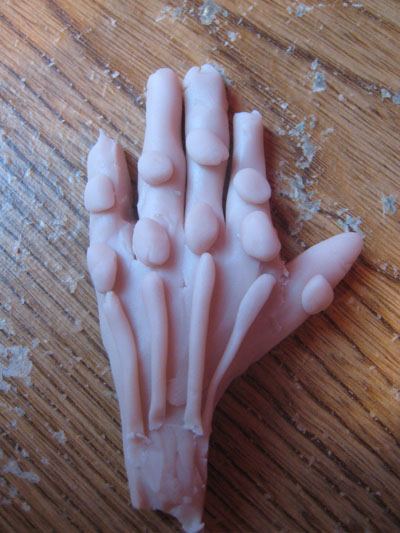
I’ve carved little lines in the hand for emphasis for the knuckles and finger nails. I’m not worried about getting the details exactly right at this stage, my goal is to get a good idea on where everything is located. I then use a brush with alcohol to smooth everything out. |
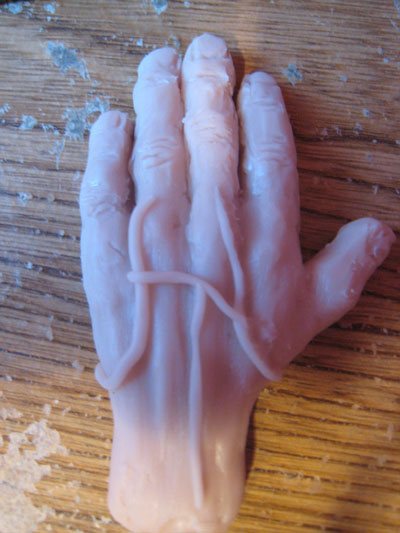 |
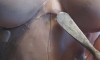
The little snakes of clay here will be used for the veins in my hand. |
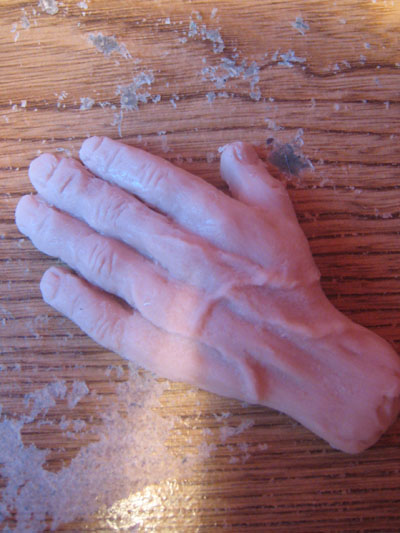 |
And now we have a good rough sculpt for my hand. I’m going to be bending the fingers and shaping the hand around my fiddle in the next tutorial. |
Next lesson – Attaching Hand To Fiddle
Previous lesson Detailing the Scroll