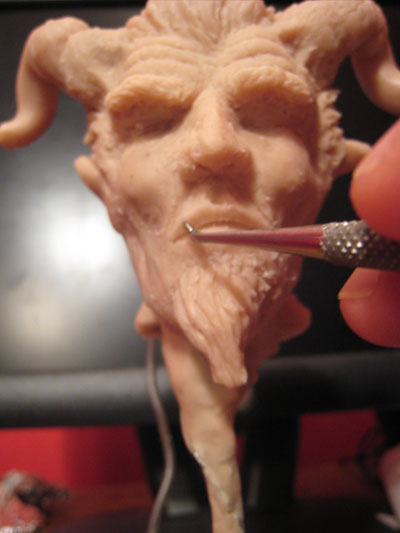
Sculpting the lips – time to fix some errors!
Well, I have some good news and I have some bad news. The bad news is that I checked the proportions of my sculpture in the mirror and a lot of the facial features were off. The eyes, nose, cheeks and mouth just need a lot of work. This is a good example of why you should consistently check your sculpture in the mirror when you are sculpting. I started out by checking the symmetry in the mirror but I failed to continue to do so in the later stages. If you have no idea what I am talking about then read the “Why use a mirror when sculpting” lesson first.
The good news for you is that I have to sculpt the eyes and mouth all over again. So, this is a good opportunity to show you the individual stages of sculpting the different facial features. I’ll break the sculpture features up into different lessons.
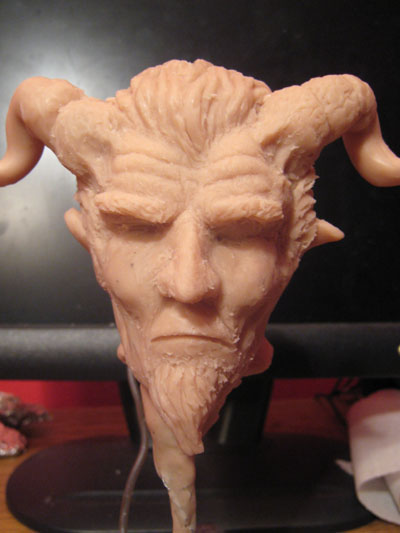 |
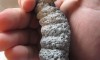
Ok, as you can see in this picture the eyes, lips and cheeks have completely been scaled down. I spent a lot of time at this stage to make sure that the sculpture looks ok in the mirror. I will continue to check the sculpture periodically in the mirror as I progress through the lesson. Step one is to simply draw a horizontal line in the clay to identify where the mouth will be located. |
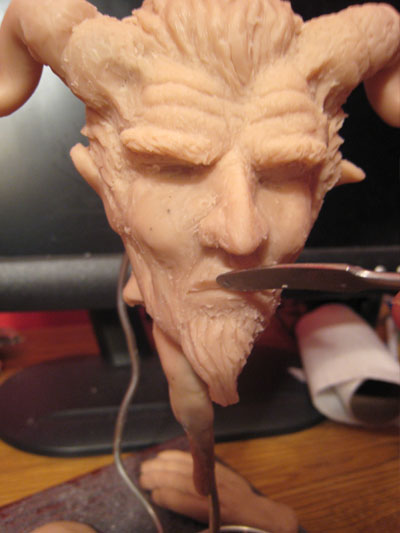 |
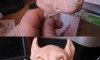
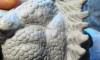
Using one of my sculpting tools I create a flat surface on the top and bottom of my line Note: The shape of the mouth is not flat under the nose and I already had a protruding lump of clay before the mouth’s line was drawn. |
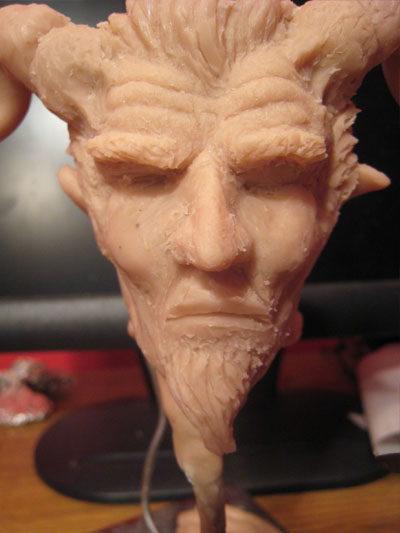 |
This picture should give you a better idea of what I am talking about. Notice how the flat edges go out from the center of the line to the outer edges of the mouth? |
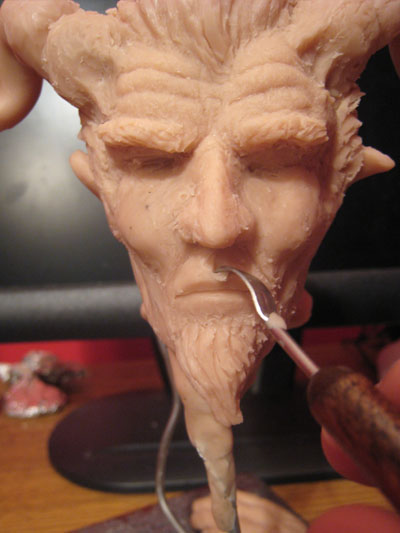 |
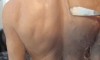
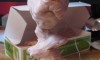
Ok, now it is time to define the area right about the upper lip. We are not done with the lips yet but I want to define the reset of the mouth before I finish off the lips. Right under the nose I create a little valley in the clay. Look at your own mouth in the mirror to get a better idea of what I am talking about (I have no idea what the medical term for this part of the body is called) |
 |
On each side of my little valley I am going to carve out a little bit of clay. |
 |
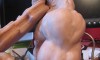
Now create little vertical lines in the clay to detail the lips |
 |
And do the same for the bottom lip. Once complete, take a brush with 90% rubbing alcohol and lightly clean up the lips. |
Next lesson Sculpting eyes
Previous lesson Sculpting hair


2 years is fashionably late, right?
Anyhow…o picture 4, you state:
“Right under the nose I create a little valley in the clay. Look at your own mouth in the mirror to get a better idea of what I am talking about (I have no idea what the medical term for this part of the body is called)”
I hear that bit commonly referred to as the Cupid’s Bow. I hear it more in ref to the female lip, but it seems it would apply. Dunno.