Blocking Out the Dog Portrait
The first step to sculpting a dog portrait is to block out the face. If you have been following the Fiddler sculpting series then you are already probably familiar with some of these steps. The goal here is to get a rough shape of our dog. We will start adding and refining details in the later steps. Tools Needed
- Armature wire
- Aluminum foil
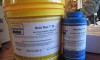
- Polymer Clay (Super Sculpey in this example)
- Sculpting tools
- Lots of patience 😉
Time to begin……
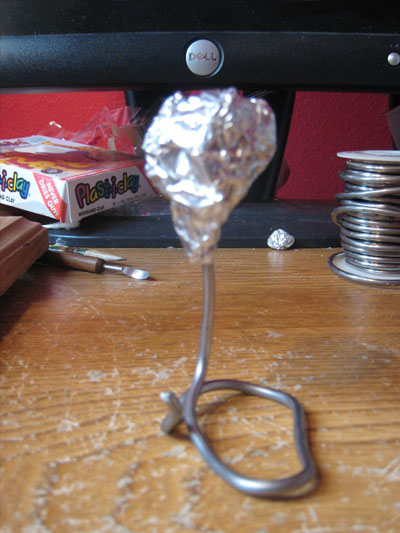 |
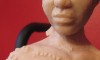
Wrap a small ball of aluminum foil at the top of the armature wire. This will be used to help bulk out the clay and to prevent the armature wire from shooting through the clay. |
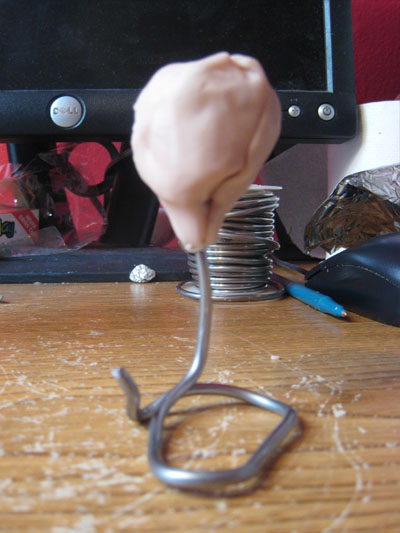 |
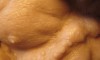
Add a layer of clay to the aluminum foil. Nothing too complicated at this stage. |
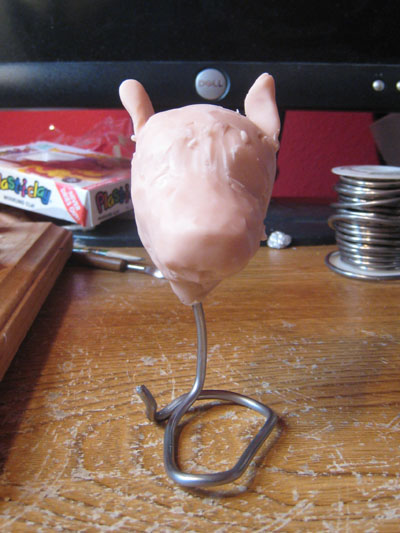 |
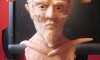
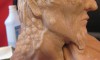
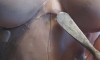
Start refining the overall shape of the dog. I’m not focusing on details at this stage, the goal is to block out the face of my dog. I do a lot of measuring, either from a photograph or the live animal, at this stage to make sure that the proportions are down right. For example I will measure the distance from the nose to the eyes and compare that to the distance from the eyes to the ears. |
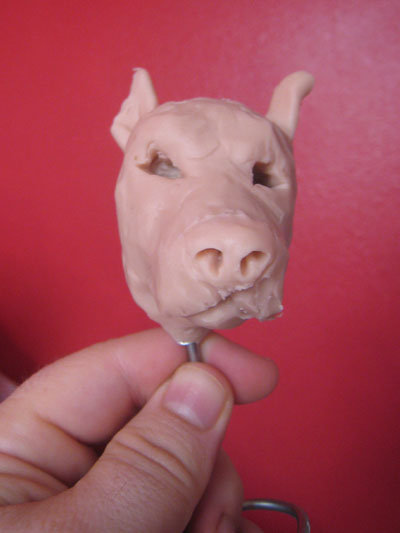 |
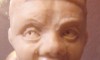
The sculpture looks pretty rough but as you can see the overall shape of the dog is there. |
Next lesson – Shaping the dog’s face
Back to the dog portraits home page