Detailing the chest and abdominal muscles
In the last lesson we bulked and defined the chest and abdominal muscles. Now it is time to start adding some detail to our sculpture. I am going to split this lesson into two separate tutorials. For the first lesson I will demonstrate how to create muscle cuts and striations in the clay and the second lesson will give examples on how I create a textured look for the skin on my sculptures.
It is important that you don’t jump to this stage too quickly. You should focus on building a good foundation using the information from the previous lessons before jumping into this tutorial. However, once the foundation is complete, I have to say that this is really one of my favorite steps in the sculpting process because it starts to change the way the art looks. Remember at the beginning of this tutorial when I said at first my art may look like a third grader created? Well this lesson moves us up a few grades in the experience level ;-).
All right, here we go with the detailing of the torso. Again, the polymer clay I am using for this particular piece is Super Sculpey.
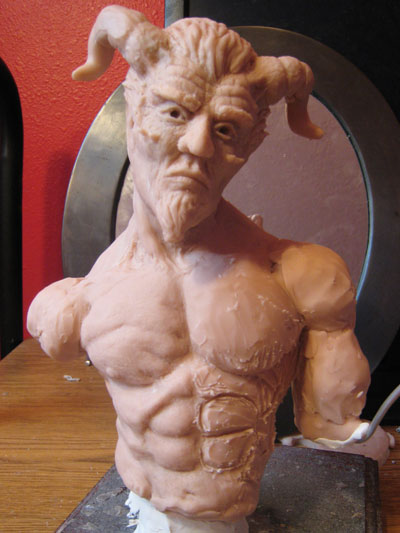 |
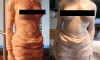
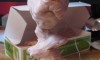
I’ve already done the right side of the sculpture (your left on the screen) and will show you how I accomplished the details on the the left side of the sculpture. Step one is to carve around the individual abdominal muscles. |
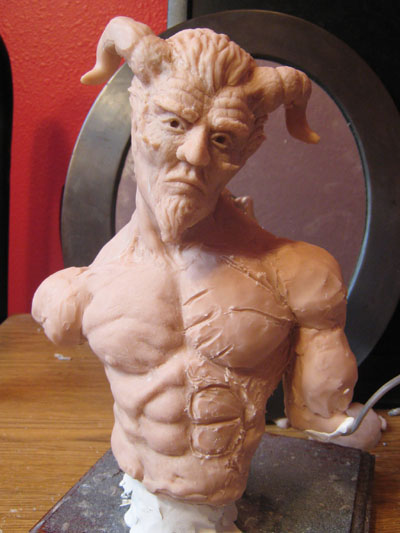 |
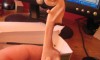
Next I carve lines in the clay where I want the chest striations to go. This is a very detailed and muscular physique so I plan to add a lot of muscle detail to it. |
 |
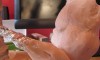
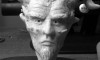
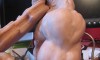
Using a stiff brush and 91% Alcohol I blend and sculpt the abdominal muscles. This takes some time because I’m really sculpting now with my paint brush. I will constantly dip the brush in the Alcohol to help me blend and sculpt the clay. Ok a moment of confession here. I’m actually using 70% Alcohol because I ran out of the good stuff. 70% works but not as well as the 91%. It takes a lot more strokes to get the look I want and I highly suggest using the 91% Alcohol (I just need to remember to add it to my grocery list). |
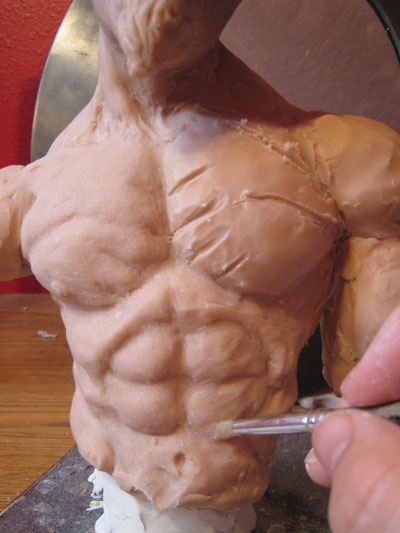 |
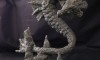
Here is another shot of the abs after I have spent some time blending and sculpting the clay with my brush. |
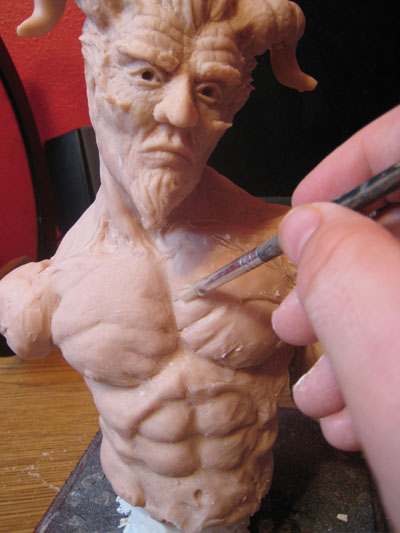 |
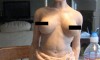
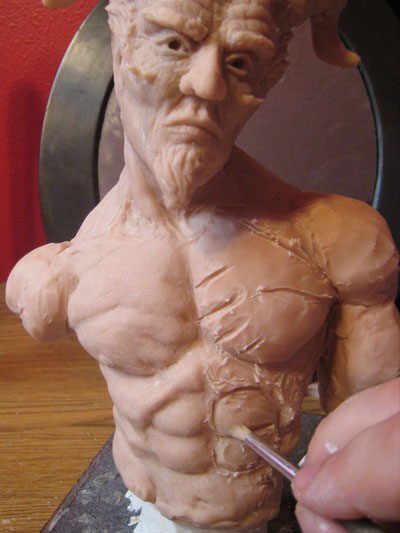
Now onto the chest. Same as with the abs, I use a brush and Alcohol to blend and smooth out the individual chest striations. |
Next lesson – Torso skin details
Previous lesson Filling out the Torso