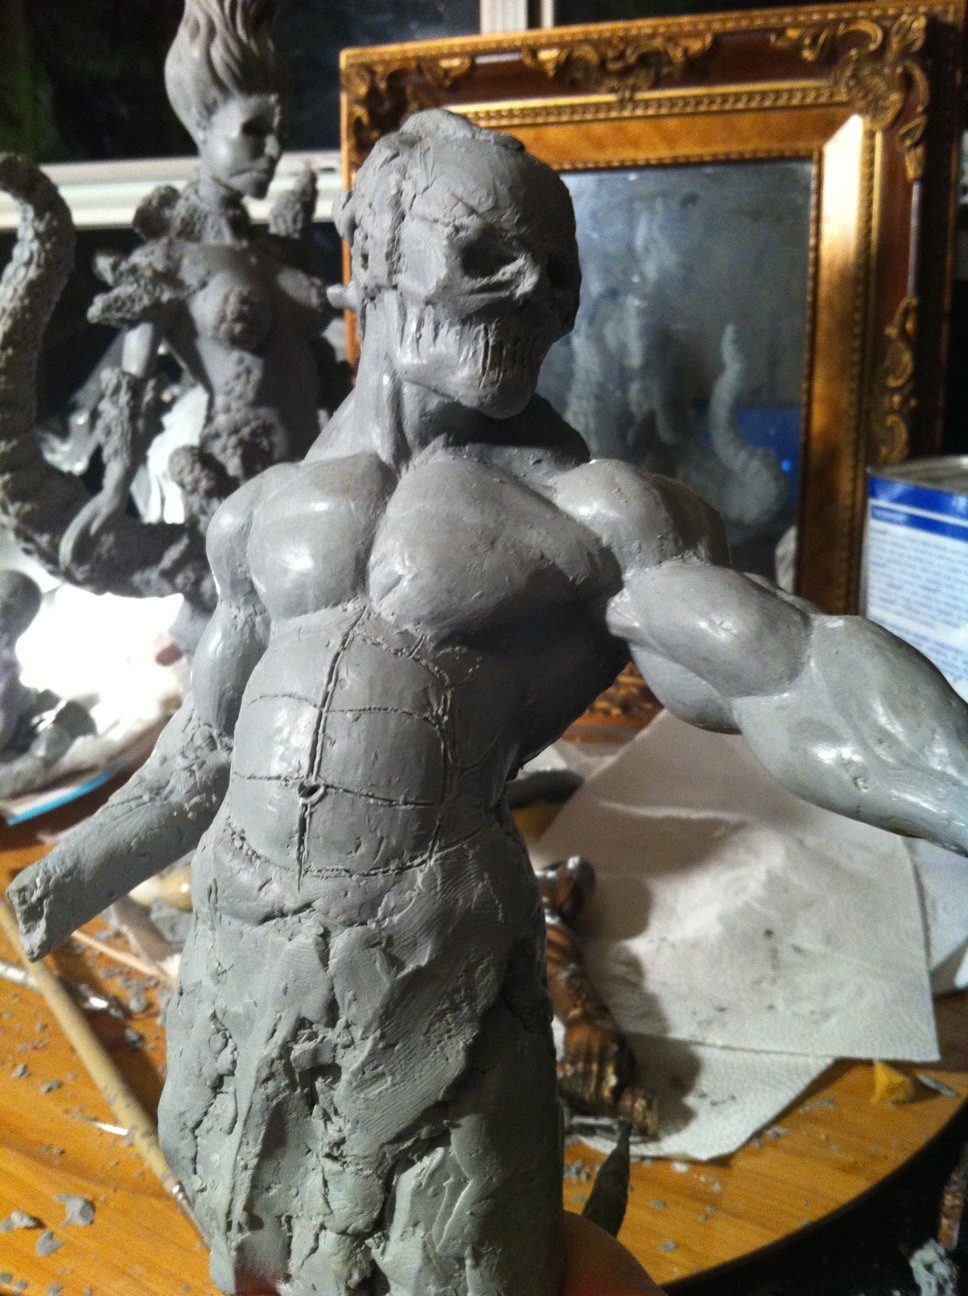
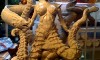
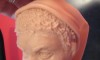
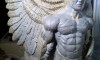
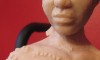
 Over the past few years I’ve gravitated from creating what I would consider more conceptual to functional based art. I still enjoy sculpting statues and figurines, that will always be a part of me, but I have to admit that creating a unique functional piece of artwork has a strong appeal to me. Not only is the artwork fun to look at, it’s also a great way to create an engaging conversation piece.
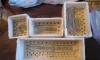
I started my functi0nal art journey a few years back making cigar related tools and as of late have spent a great number of hours creating art for the wine enthusiast. What’s intriguing about creating this type of art it that it really stimiluates my own creativity. I look at the world with a different view in that any and every item I interact with has an opportunity to also because an artistic centerpiece. Napkin holders, coasters, light switches, etc and etc offer endless opportunities to create something that is functional yet an attraction for its design and beauty.
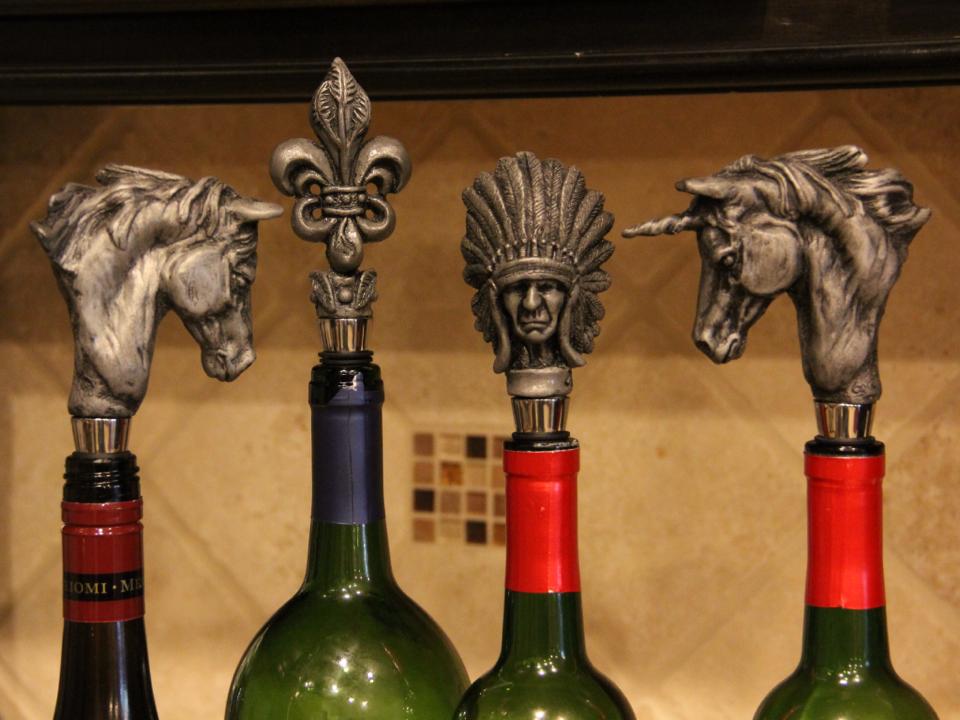
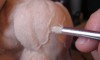
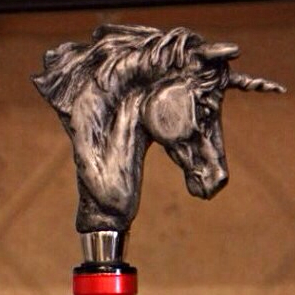
If you have never created a functional piece of art then I highly recommend you give it a try. Push yourself with the design, make the challenge something that you have to give your very best effort. In the end no matter what you make, or how the design ends up, I truley believe you will grow as an artist. After all I’ve never grown much from my easy projects, it’s the ones I wanted to throw in the trash that really developed my skills. For me sculpting wine stoppers pushes the envelops of my creativity. I have to sculpt smaller than I prefer and on top of that I’m tasked with trying to create an appealing design that will rest on top of a wine bottle.
Go out and find your niche and try something new. Struggle with the project, push yourself, don’t give up and in the end I’m confident you will be a better artist for it.
If you would like to check out my latest endeavors you can view them at my
Etsy shop – www.etsy.com/shop/gorecollection or my website – www.gorecollection.com.

All the best,
Gerald Gore