Sculpting the scroll
Ok, soooo we have added the base (belly), a rough neck and now it is time to add the scroll (top part of the neck). The following steps are quick and easy and a good start to building a basic scroll. I still have a lot more to do to the scroll, like cleaning it up and adding the keys. However, as I have done in all the other tutorials, I always first cover the foundation or basic steps. Once you get a good foundation then adding the details is a cinch.
The polymer clay I am using for this particular piece is Super Sculpey.
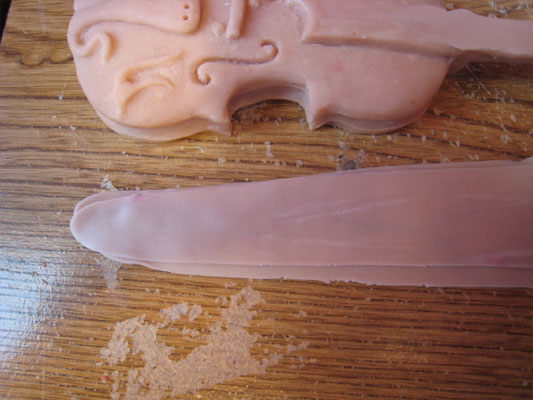 |
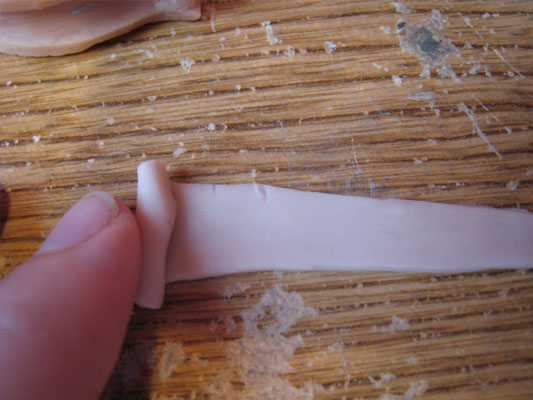
The first step is to rollout out a thin layer of clay using a pasta machine |
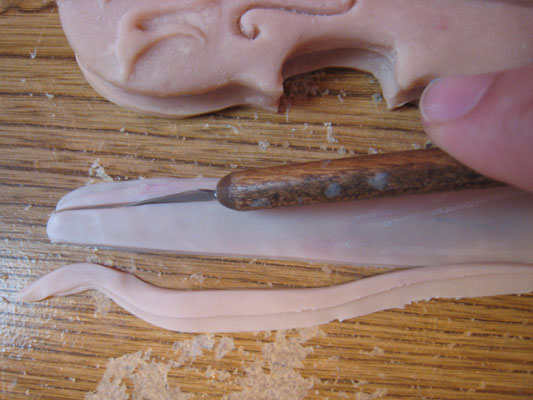 |
Next I trim down the sides to form a long and thin triangle. |
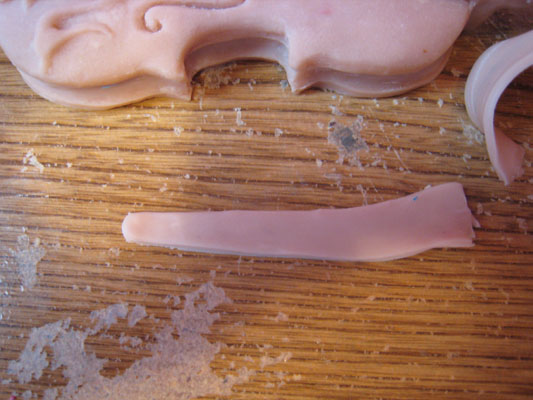 |
The attached picture shows the basic shape that I am trying to achieve. |
 |
Roll a cylinder with clay starting with the widest part. |
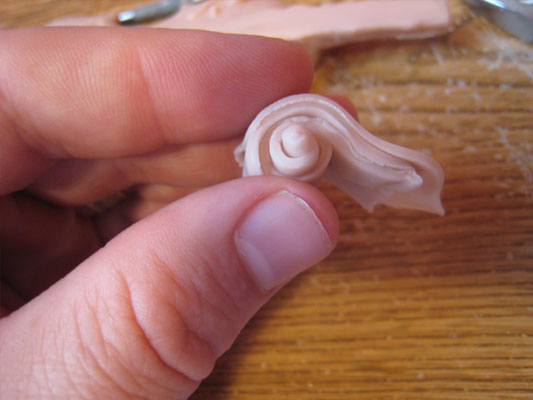 |
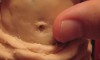
After I roll my cylinder I add a little clay to the back of the piece to create a little more thickness |
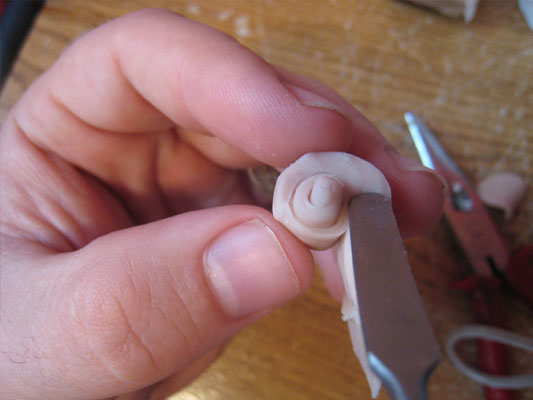 |
Smooth out the sides a little |
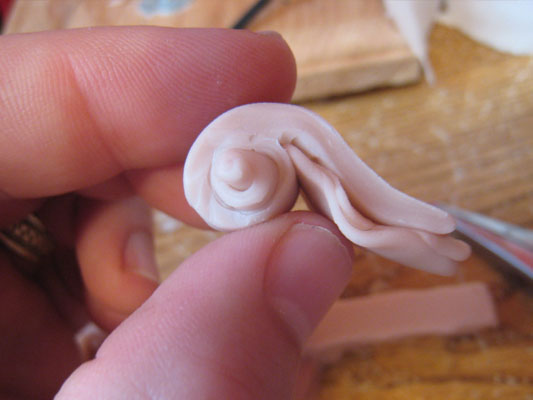 |
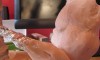
I’ve added a little more clay to the top of the piece and sill smooth it out using the same steps from above. |
Next lesson – Attaching the scroll to the fiddle.
Previous lesson Building out the neck of the fiddle