Attaching the Hand to the Fiddle
Hands are tricky so I like to sculpt them individually when possible and add them to the sculpture as a separate piece. In this tutorial I am going to take the hand from the previous lesson and attach it to my already baked fiddle.
I’m approaching this sculpture as if it was a puzzle adding each section together one piece at a time. What is nice about this step is that I am that much closer to adding the fiddle to my Fiddler. The fiddle really brings out the feel of the piece and I am really looking forward to seeing it all put together.
* This sculpture is created with Super Sculpey.
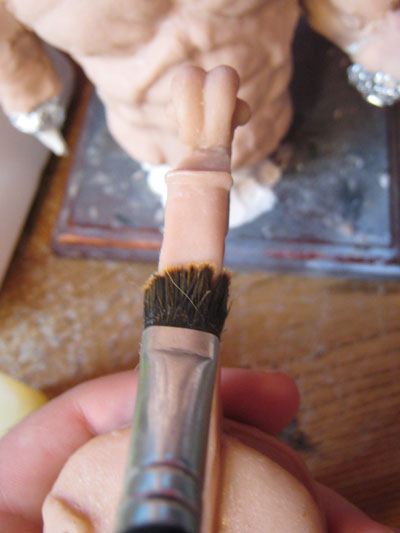 |
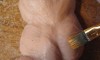
We are adding a non-baked hand to a baked fiddle so apply a thin layer of Vaseline to the neck of the fiddle (where the hand will be placed).Hint: Apply Vaseline over a larger section of the baked clay than you plan to sculpt with (just in case you underestimate the space needed for the new or non-baked clay) |
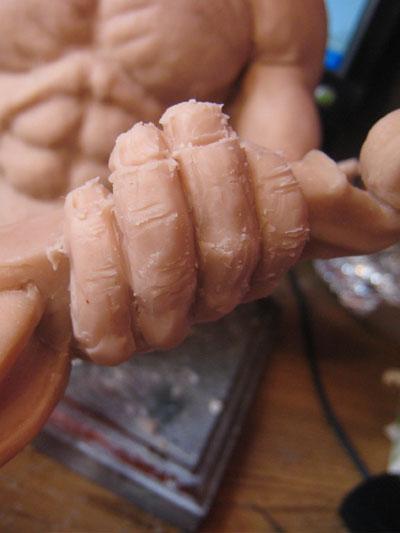 |
Next I add the hand and start working on the finger placements. The hand looks a little rough here but that is OK. The next step is to start smoothing out the clay and adding the details. |
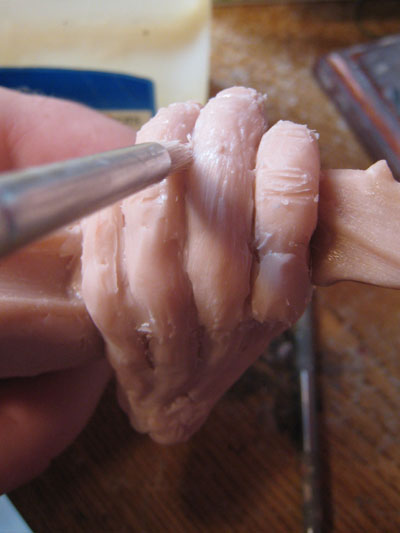 |
Refer back to the sculpting a hand with polymer clay tutorial on how I detail out a hand. It takes a lot of time for me to build out and detail a hand so don’t let the few images in this tutorial fool you into thinking that this is quick and easy. I can sometimes spend days going back and forth on a hand until I get it where I like it. The key is to keep at it until you are satisfied (no matter how long it takes). |
 |
And a little snap shot of what my hand looks like when the detailing is done. I’ll bake the hand and fiddle to preserve the sculpture. The next step is to create an arm for my hand and fiddle. |
Next lesson – Sculpting An Arm
Previous lesson Sculpting Fiddlers Hand


excellent. Thank you.
Todos los Tutoriales son estupendos y los consejos me han ayudado mucho, gracias a todos